Okay, here’s my blog post about working on my 2004 Kawasaki Ninja ZX6R, written in the style you requested:

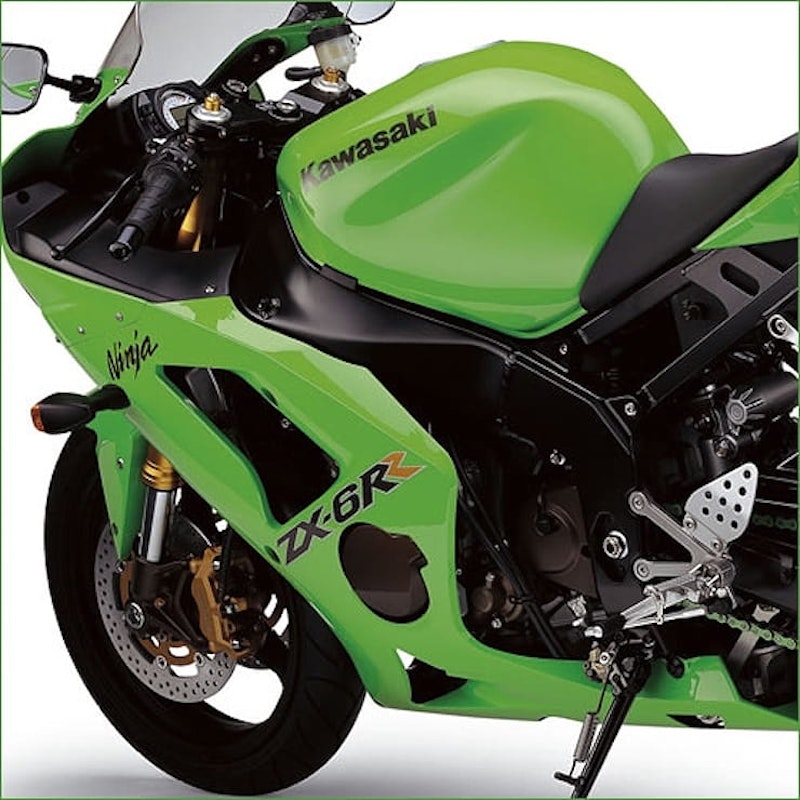
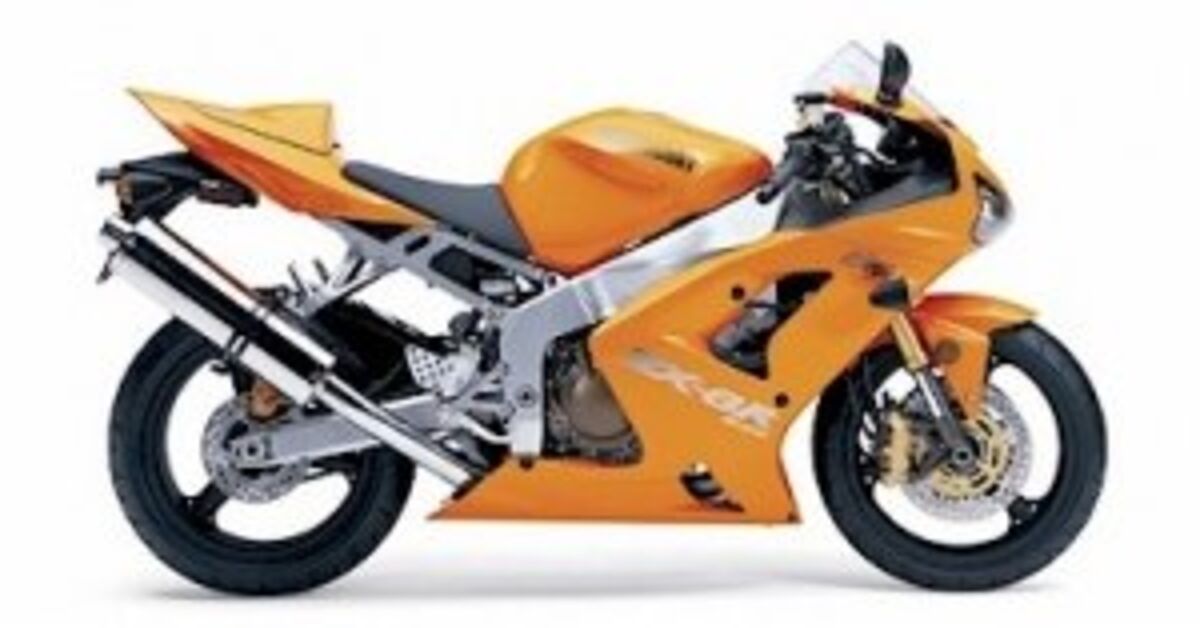
So, I finally got my hands on a 2004 Kawasaki Ninja ZX6R. It wasn’t exactly pristine, needed some love. I’ve always liked getting my hands dirty, and this bike was begging for a project.
Getting Started
First thing I did was just look. A good, long look. I mean, really get in there and see what’s what. I checked under the seat, wiggled some wires to find the place, checked out the fairings, and just generally poked around. I’m not a mechanic, okay, but I can usually figure stuff out with enough time and patience.
I’d found the original colors, a cool metallic blue. But, they’d faded. So, I decided a new paint job was in order. Off came the fairings! That was… an experience. Some of those bolts were stubborn, man. I swear, some previous owner used super glue or something. But, with some careful prying (and maybe a little bit of cursing), I got them all off.
The Messy Part
Next, the sanding. Oh boy, the sanding. This part took forever. I used various grits of sandpaper, starting rough and going finer and finer. My arms felt like they were going to fall off by the end, but the plastic was smooth as a baby’s butt. Important step, though. Can’t skip the prep work if you want a good finish.
Then came the primer. I used a spray-on primer, made for plastics. A couple of coats, with drying time in between. This part was actually kind of satisfying, seeing the old, faded color disappear under a uniform gray.
The Fun Part (Finally!)
Painting! I chose a deep, glossy black. Something about a black Ninja just feels right, you know? I went with several thin coats, again, letting each coat dry before the next. Patience is key here, people. Don’t rush it, or you’ll get runs and drips. Trust me, I learned that the hard way on a previous project (don’t ask).
Putting It All Back Together
After the paint was fully cured (I gave it a few days, just to be sure), it was time to put the fairings back on. This went a lot smoother than taking them off, thankfully. I also took the opportunity to replace some of the old, rusty bolts with shiny new ones. Little details, but they make a difference.
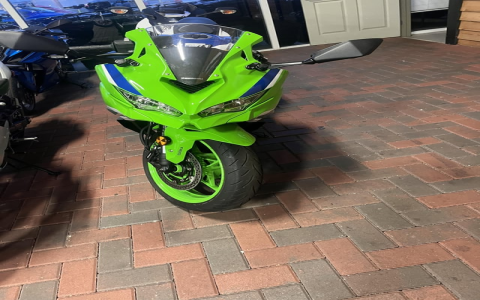
The Result
So, here’s what I finally got. She is brand new, at least she looks like it.
-
All fairings are sanded and painted with a glossy black finish.
-
Old bolts were changed and the new one looks better.
It was a lot of work, but totally worth it. There’s something really satisfying about taking something old and making it new again. Plus, now I have a sweet-looking ride that I can be proud of. Next up, maybe I’ll tackle the exhaust…


