
So, I was digging through some old boxes the other day, you know, the kind you shove in the attic and forget about for twenty years. Found this stack of old car magazines, real dusty stuff. One of them, I think it was an old Sports Illustrated or something similar, had this big feature on the Indy 500 from 1969. Pictures were amazing, even faded. Mario Andretti, the busted wing controversy with Lloyd Ruby, the whole deal. Got me thinking.
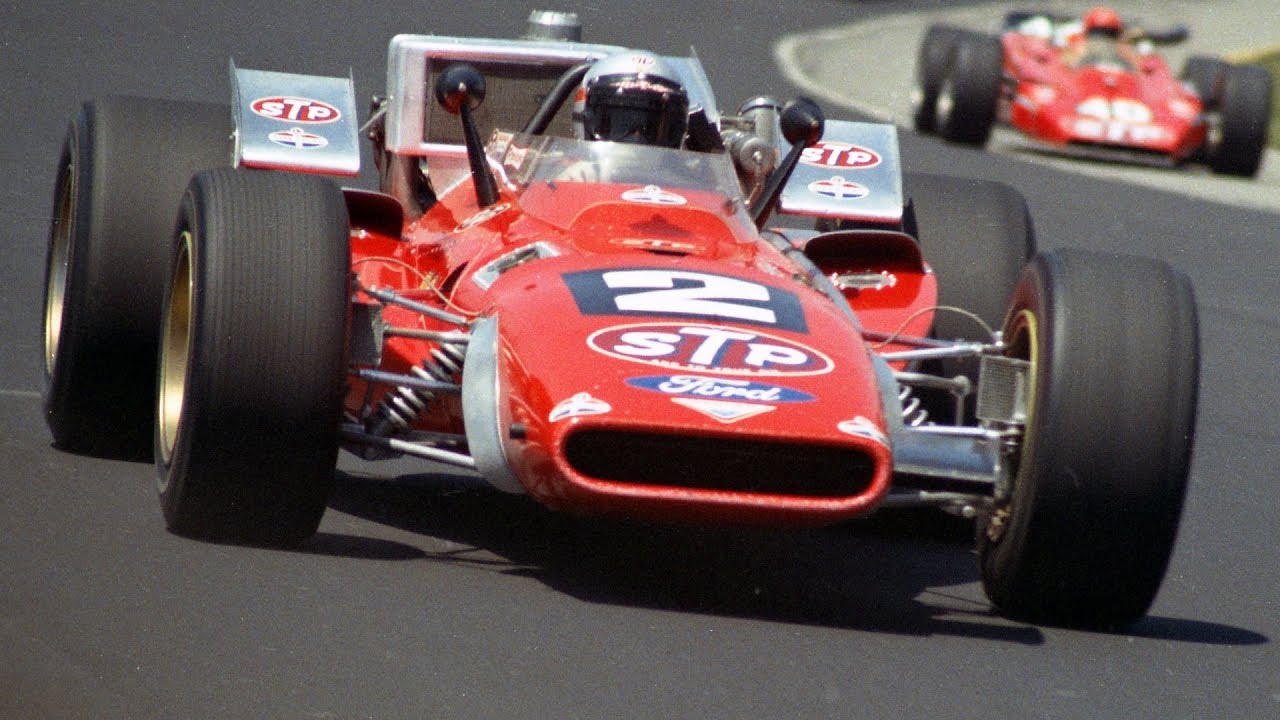
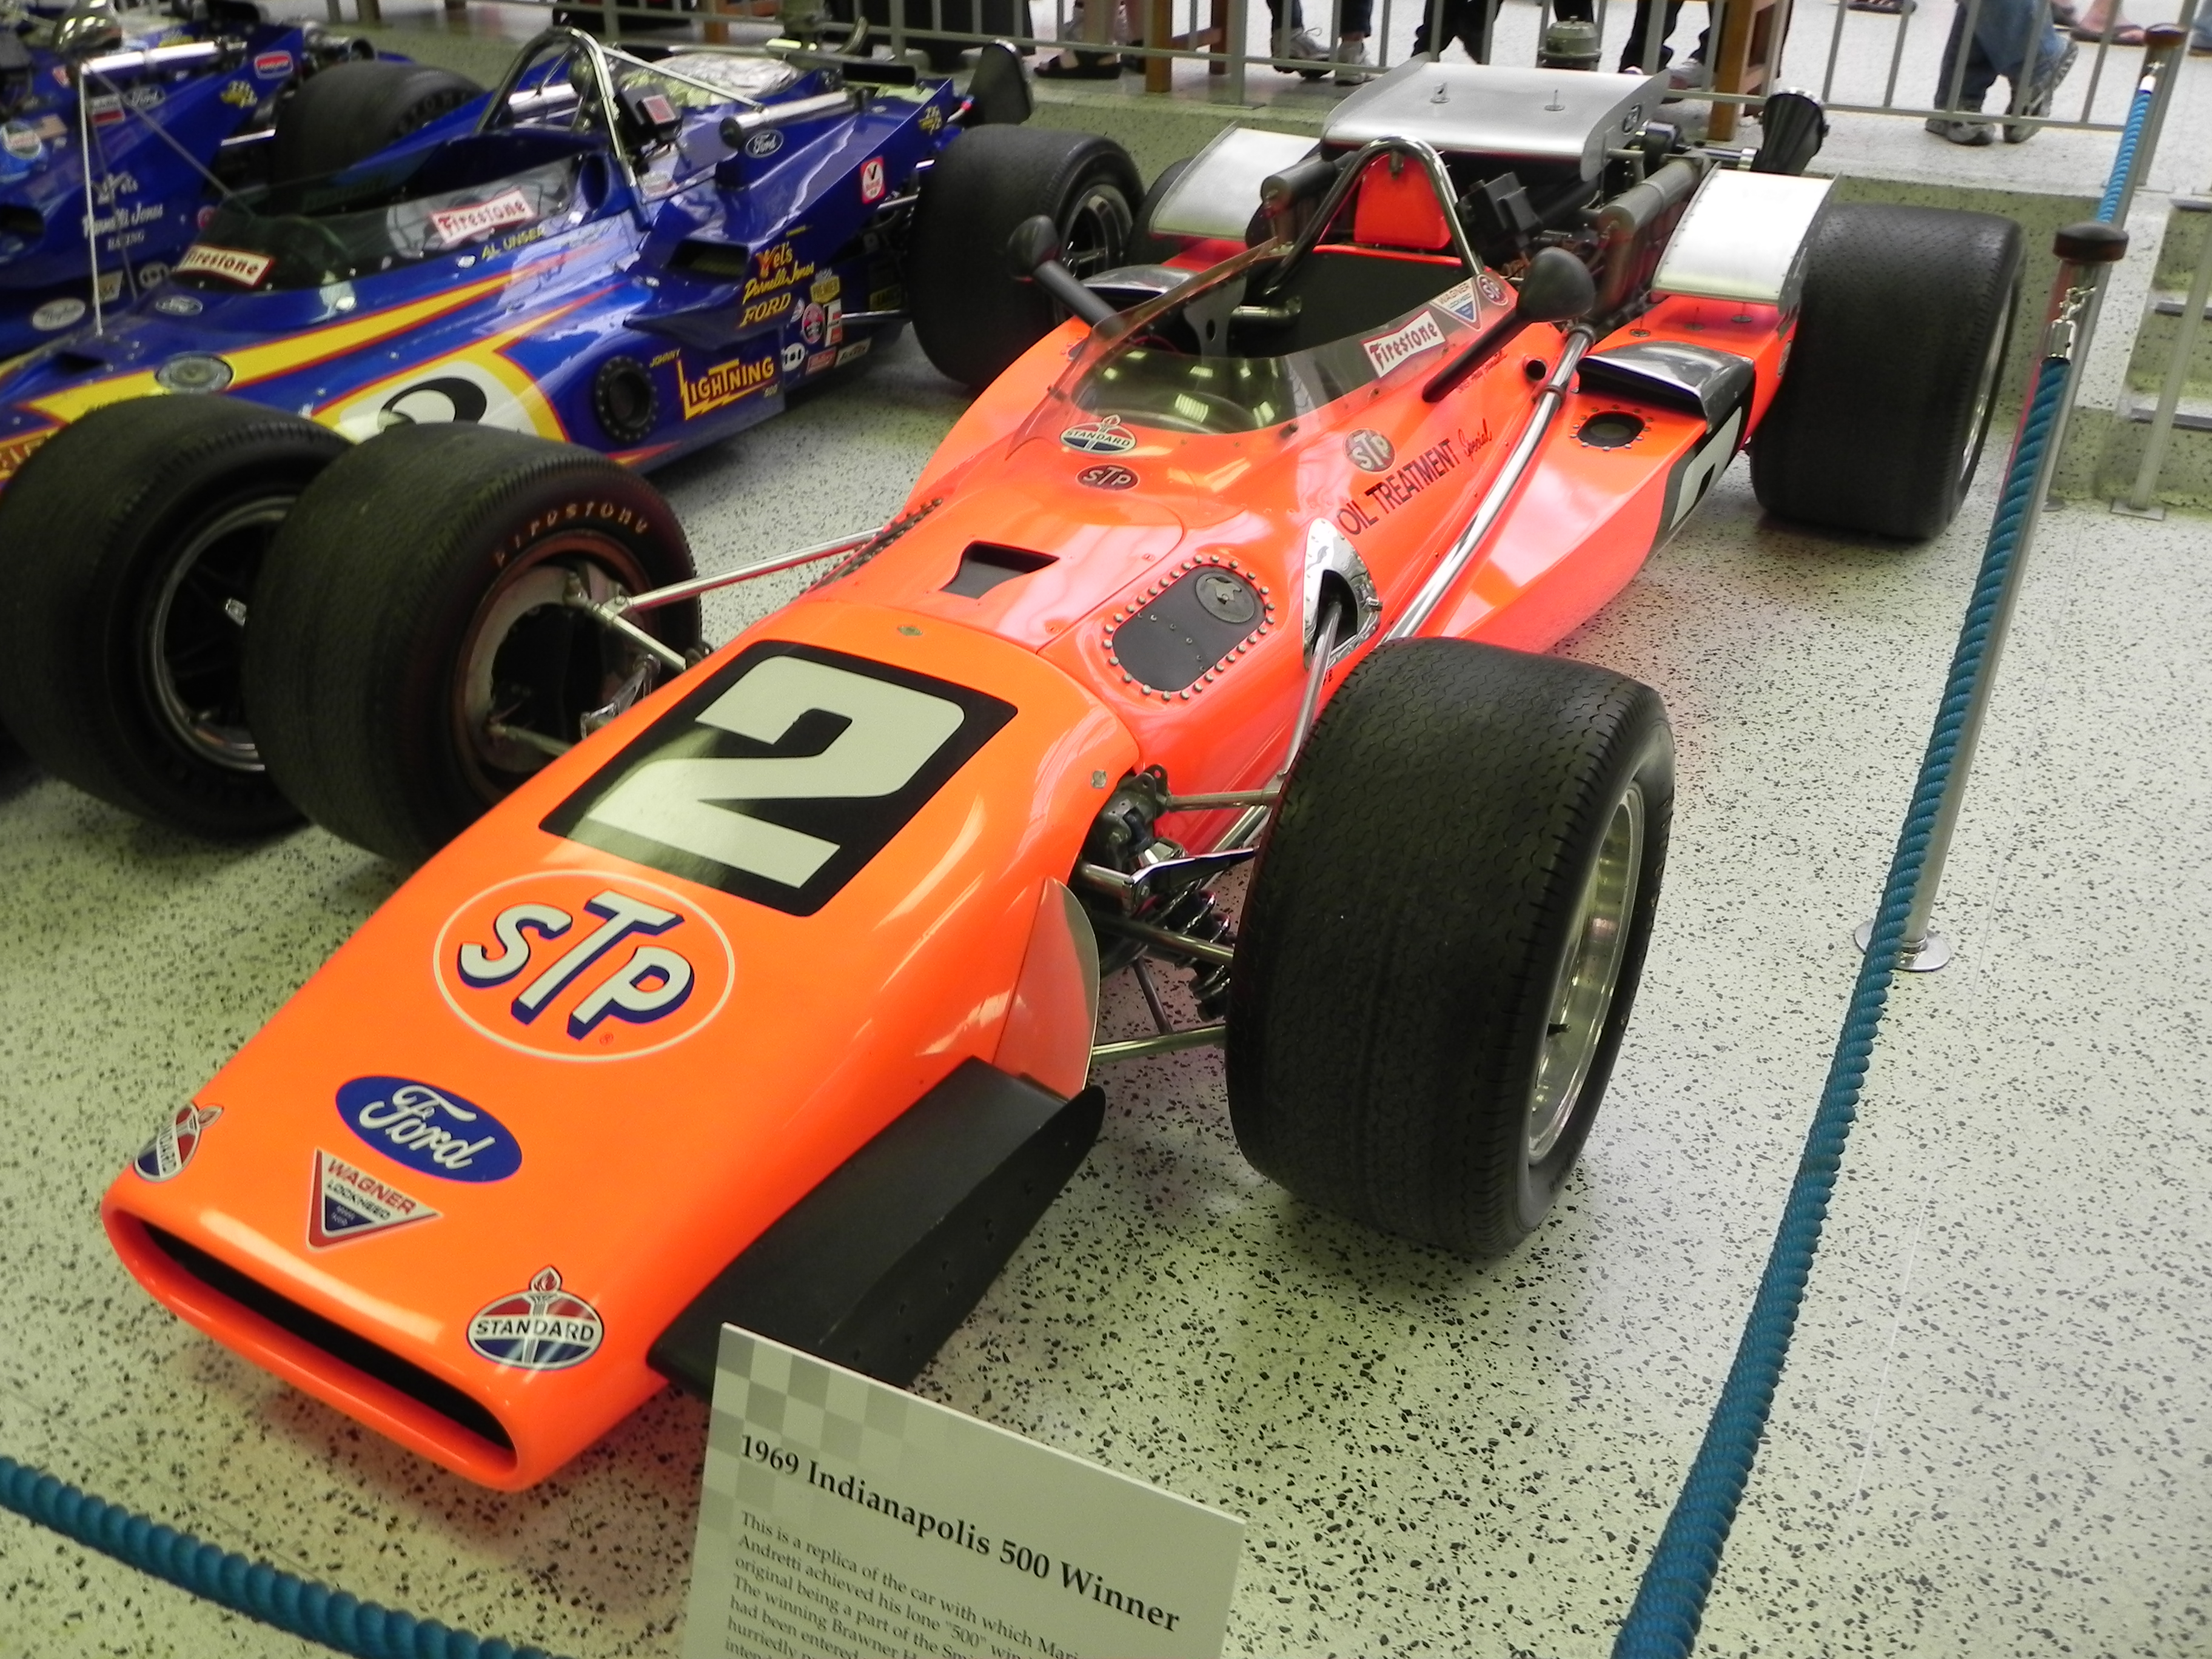
I used to build models like crazy when I was younger. Seeing those pictures, especially of Andretti’s winning car, the Brawner Hawk III… well, it sparked something. Decided right then, I gotta try and build that car. Not just any model, but try and get it looking right, like it just rolled off the track in ’69.
Getting Started Felt Like Detective Work
First hurdle? Finding a kit. Turns out, getting a decent 1:25 or 1:18 scale model of that specific ’69 Hawk isn’t straightforward these days. Found a couple of really old kits online, listings looked sketchy, prices were nuts. Ended up grabbing an older MPC kit off a collector’s forum. Knew it wouldn’t be perfect, those old kits rarely are, but it was a starting point.
Then came the research. The kit’s instructions were basic, almost useless for details. So, I spent hours, probably too many hours, hunting down photos from ’69. Old race programs I found scans of, grainy pictures online, trying to figure out the exact sponsor placements, the look of the engine, the cockpit details. You forget how little info was easily available back then compared to now.
The Actual Build… More Sanding Than I Remembered
Okay, actually starting the build. Lots of plastic flash on the parts, typical for old kits. So, step one: cleanup. Sanding, trimming, filing. Felt like half the job was just prepping the parts.
- Got the main body parts together. Needed some filler here and there to get the seams smooth.
- Started tackling the engine. The kit’s engine was okay, but basic. Tried adding some extra wiring and plumbing based on the photos. Fiddly work, dropped tiny parts more times than I can count. Used tweezers ’til my fingers cramped.
- The suspension was tricky too. Getting the stance right, making sure it looked like the real thing. Those old Indy cars had a specific look.
Painting was a whole other chapter. Getting that specific STP Day-Glo red? Nightmare. Tried a few different paints, mixes. Nothing looked quite right under my workshop lights. Finally found a fluorescent paint that was close enough after like, three tries. Then masking everything off for the other colors. Took ages.
Decals Almost Broke Me
The kit decals were ancient. Yellowed, brittle. Knew they’d probably shatter if I just dunked them in water. Tried coating them with a decal film first. Some worked okay, others just disintegrated. Super frustrating. Had to piece some logos together from leftover sheets from other kits I had lying around. It’s not 100% perfect, but it captures the look, you know? Getting that big STP logo on the engine cover without wrinkles was a small victory I celebrated with a coffee break.
Sitting on the Shelf Now
Finally got it all together. Wheels on, final clear coat sprayed, little details painted in the cockpit. Put it on the shelf next to a couple of other models I’ve done over the years. It looks pretty good, if I do say so myself. You can definitely tell it’s Andretti’s ’69 winner.
It wasn’t easy. Took way longer than I thought. More sanding, more searching for info, more cursing at tiny parts. But it was fun, you know? A good way to spend those quiet evenings. Looking at it now, feels like a cool little piece of history I got to recreate with my own hands. Reminds me of digging through those old magazines in the first place. Good stuff.


