Alright, let me tell you about this little project I worked on, something I ended up calling the ‘gay mailbox’. It wasn’t anything too crazy, just something I wanted to try out.
Getting Started
So, first thing, I needed a mailbox. I didn’t want to buy a new one, felt like recycling something would be better. Found this old, kinda rusty metal mailbox sitting by the curb on trash day in another neighborhood. Looked sturdy enough, just needed some serious TLC.
I lugged it back home. Thing was heavier than it looked. First job was cleaning it. Had cobwebs, dirt, some weird sticky stuff inside. I took soap, water, and a stiff brush and just scrubbed the heck out of it, inside and out. Let it dry out completely in the sun for a day.
The Prep Work
Next came the sanding. The old paint was peeling, and there was rust in spots. Got my sandpaper out – started with a rough grit to get the loose paint and rust off, then went over it with a finer grit to make it smooth. Took a while, lots of elbow grease involved. My hands were sore after that. Wiped it all down with a damp cloth to get rid of the dust.
Then I decided to prime it. Figured the paint would stick better and last longer. Grabbed a spray can of metal primer, the grey stuff. Took it outside, put down some old newspaper, and gave it a couple of light coats. Made sure to get inside the lip and cover all the bare metal spots. Let that dry really well, maybe waited another day.
Painting and Finishing
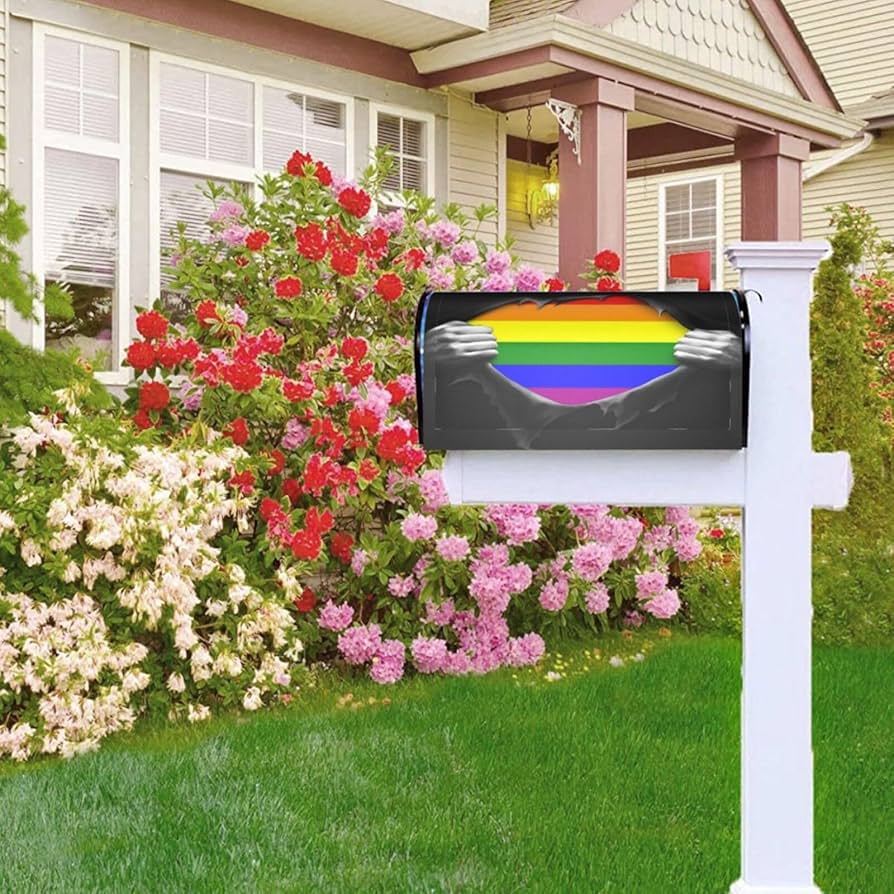
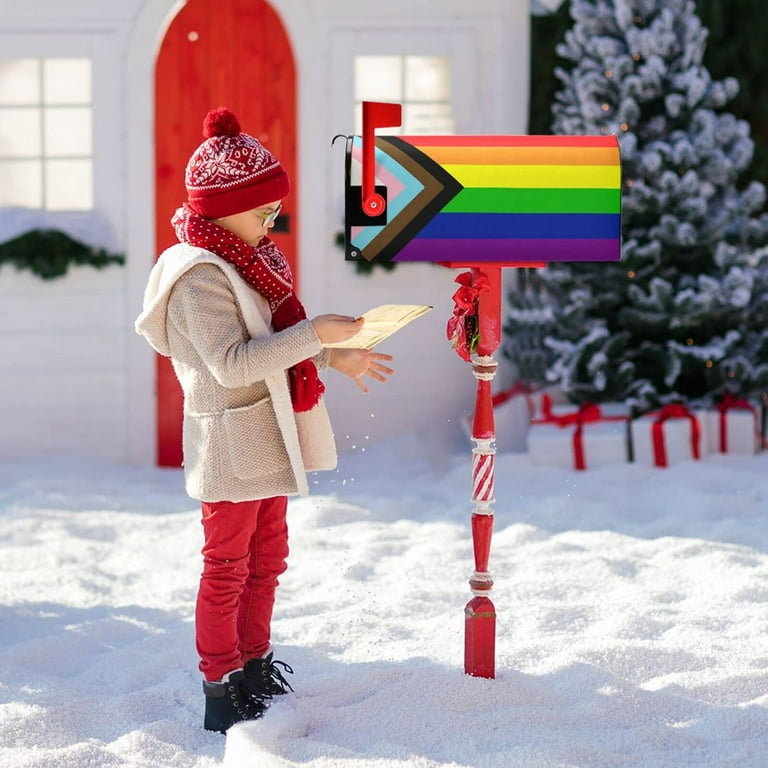
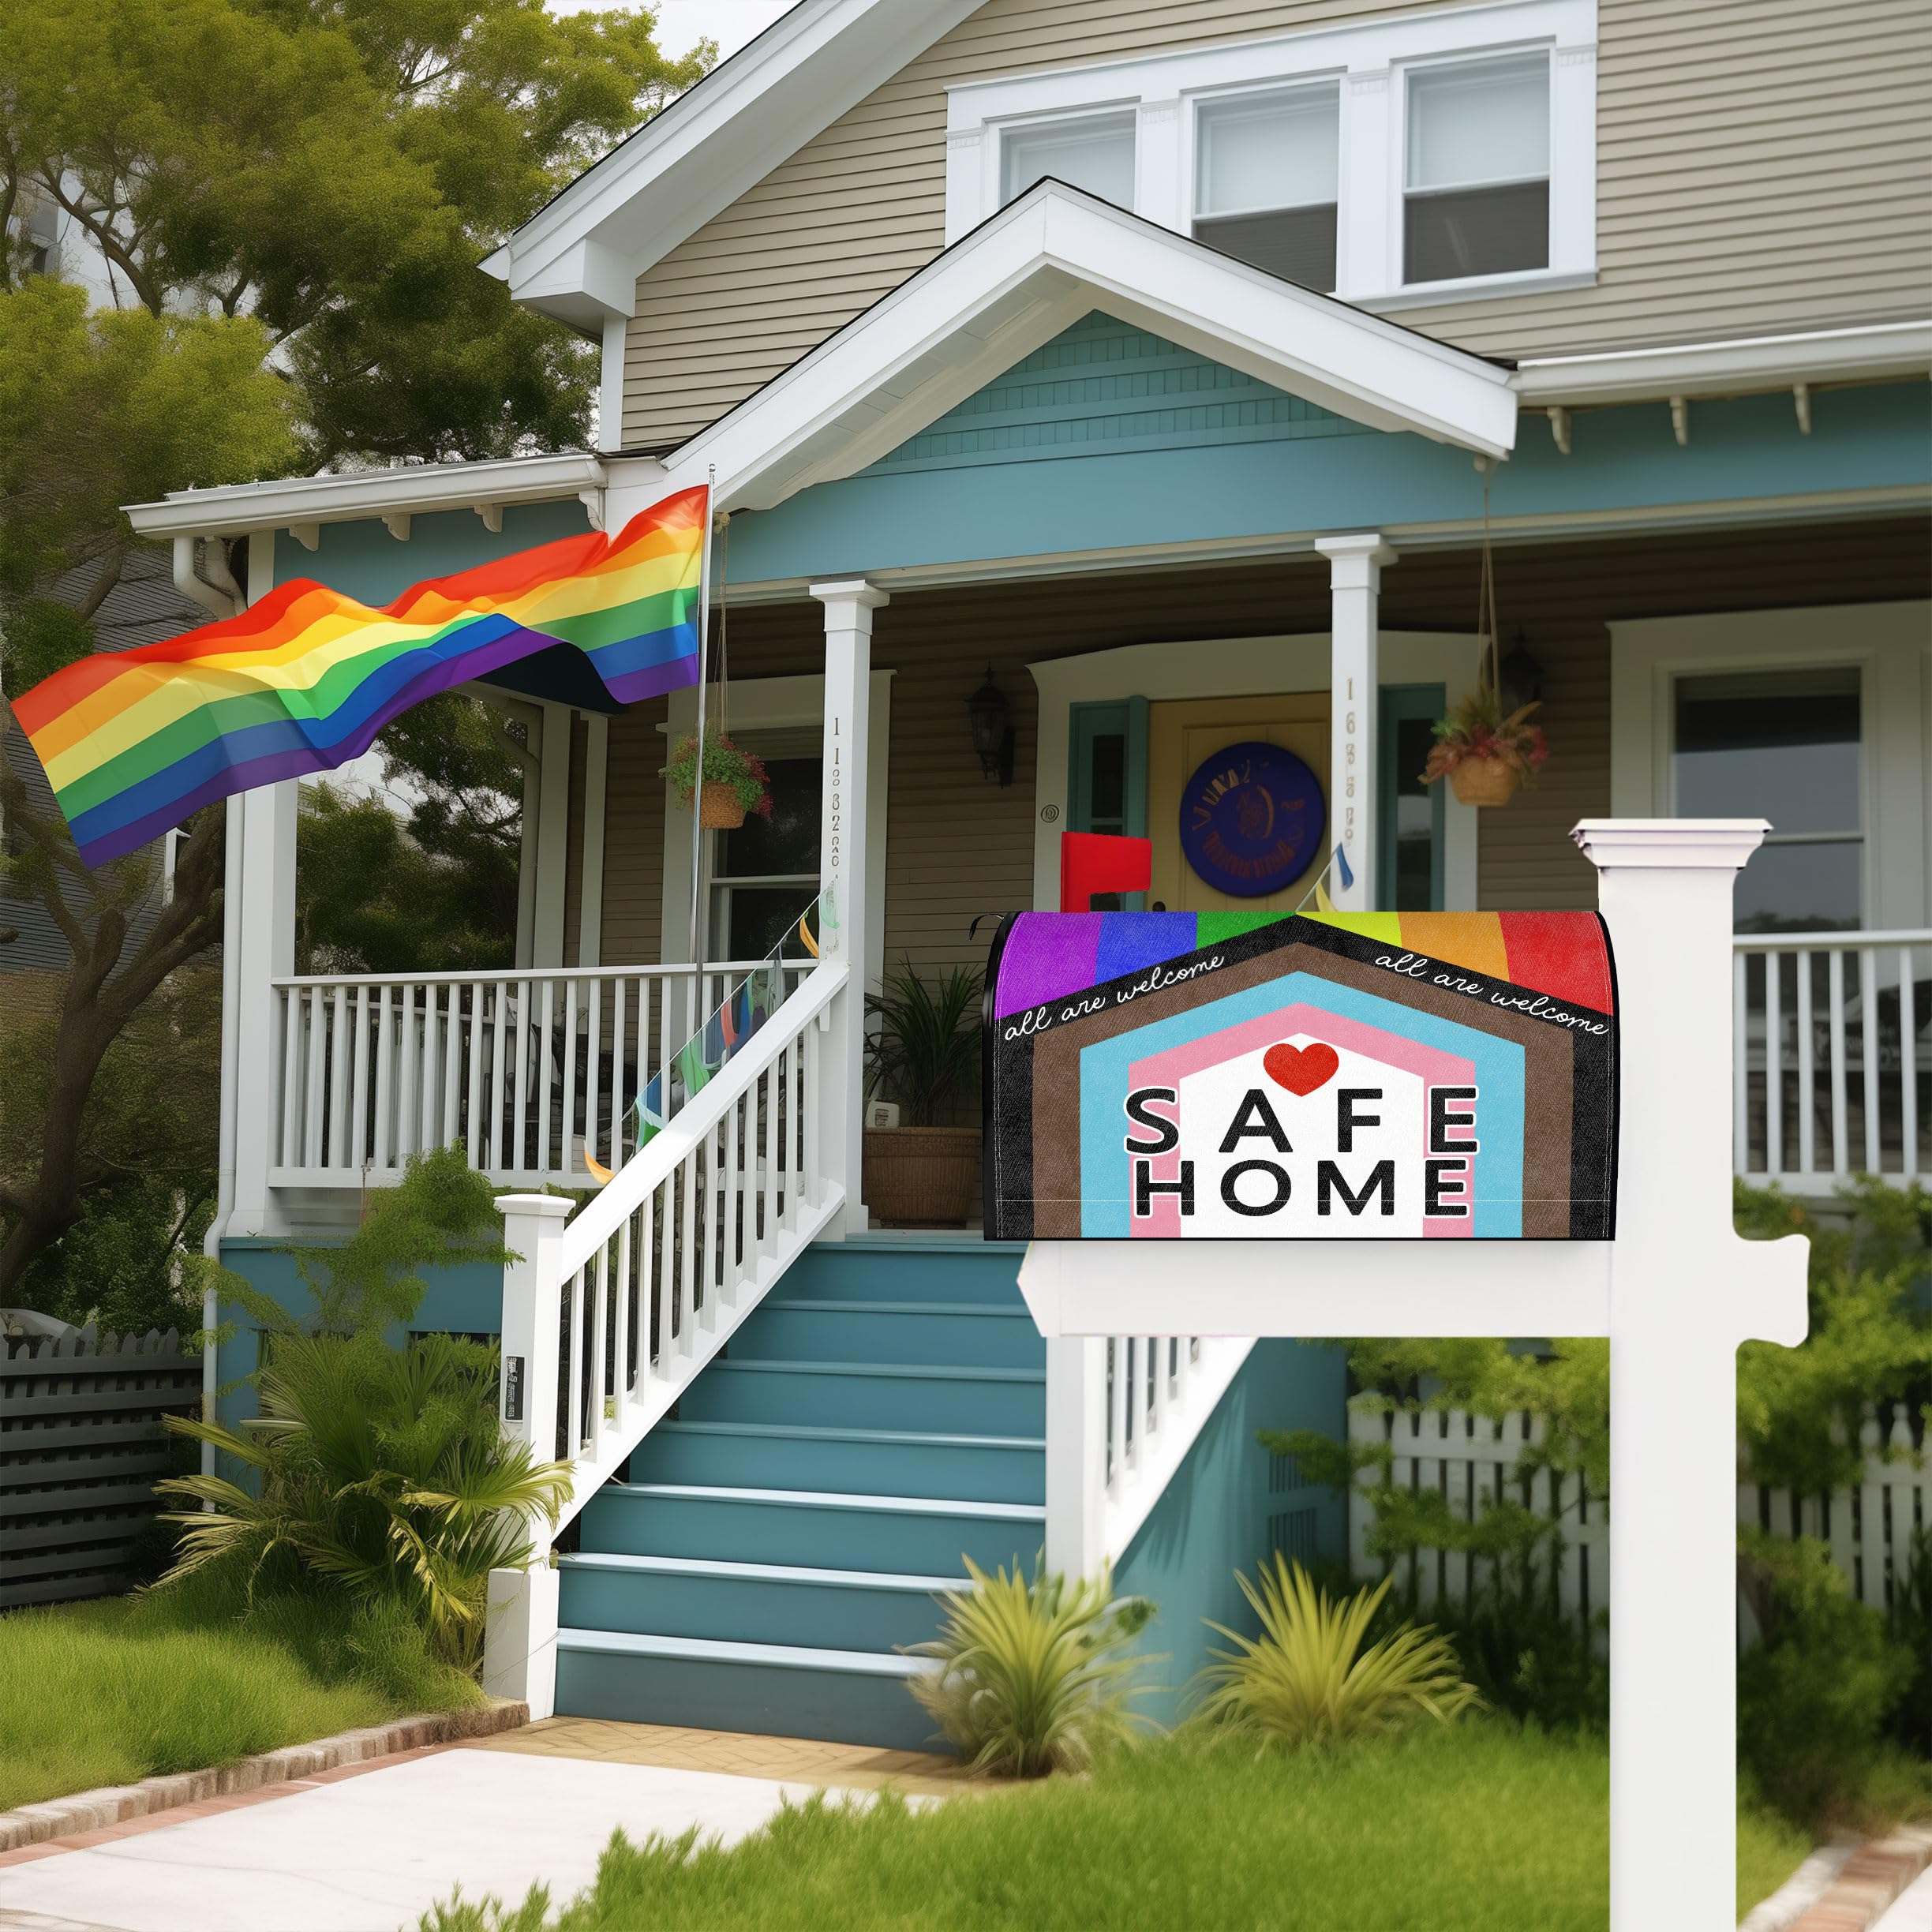
This was the part I was actually looking forward to. I had this idea for the colors. Went to the hardware store and picked up a bunch of spray paints – bright ones. Like, really vibrant. Red, orange, yellow, green, blue, purple. The whole rainbow deal.
I started masking off sections with painter’s tape. Wanted clean lines between the colors. Sprayed the red first on one section. Let it dry. Then taped off the next part and sprayed the orange. Just worked my way through the colors, section by section. It was slow going because you gotta wait for each color to dry before taping over it for the next one. Patience is key, learned that the hard way on other projects.
- Sprayed the red section. Waited.
- Taped and sprayed orange. Waited.
- Taped and sprayed yellow. Waited.
- Did the green. Waited.
- Then the blue. Waited.
- Finished with the purple. Waited again.
Once all the colors were on and dry, I carefully peeled off all the painter’s tape. The lines looked pretty sharp, I was happy with that. Stood back and looked at it – yeah, it was definitely bright. Exactly what I pictured.
To make sure it would hold up to the weather, I got a can of clear coat spray. The glossy kind. Gave the whole mailbox a couple of good coats of that, let it dry completely for like, two days just to be safe. Didn’t want it getting messed up right away.
The Final Step
The last thing was putting it up. Took down the boring old mailbox that was originally on the post by my driveway. Bolted this newly painted one in its place. Made sure it was secure.
And that was pretty much it. Stood back, looked at it sitting there on the post. Quite the change from the rusty old thing I picked up. Yeah, my ‘gay mailbox’ project was complete. Took a bit of time, mostly waiting for paint to dry, but wasn’t too difficult. Just a step-by-step process.


