
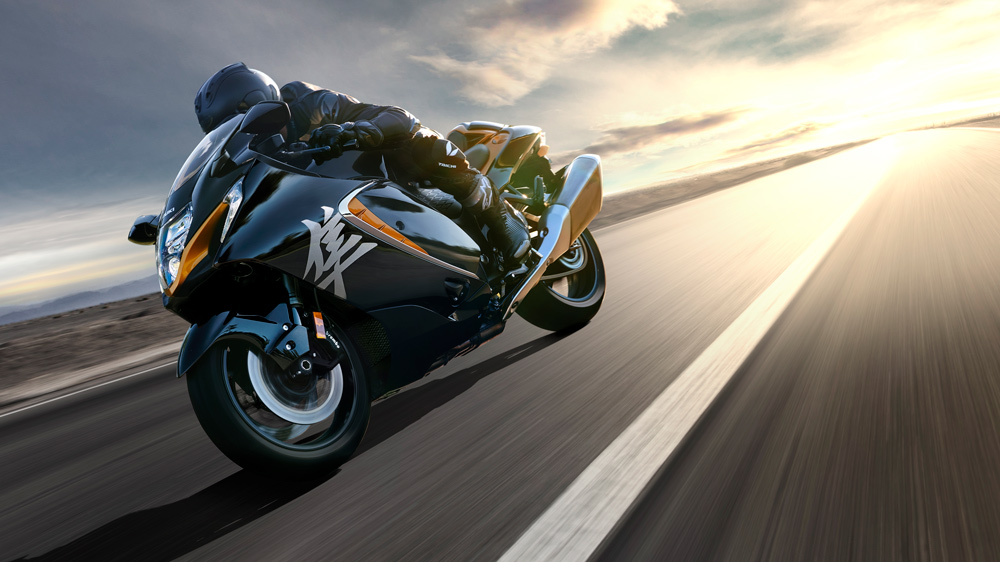
Okay, so yesterday I decided to do a photoshoot with my Hayabusa. It’s something I’ve been meaning to do for a while, and the weather was finally perfect – not too hot, not too cold, with a nice, soft overcast sky. Perfect for photos!
Getting Started
First things first, I gave the bike a good wash. I mean, really good. I used a proper motorcycle cleaner and made sure to get into all the nooks and crannies. Gotta have that shine for the camera, you know?
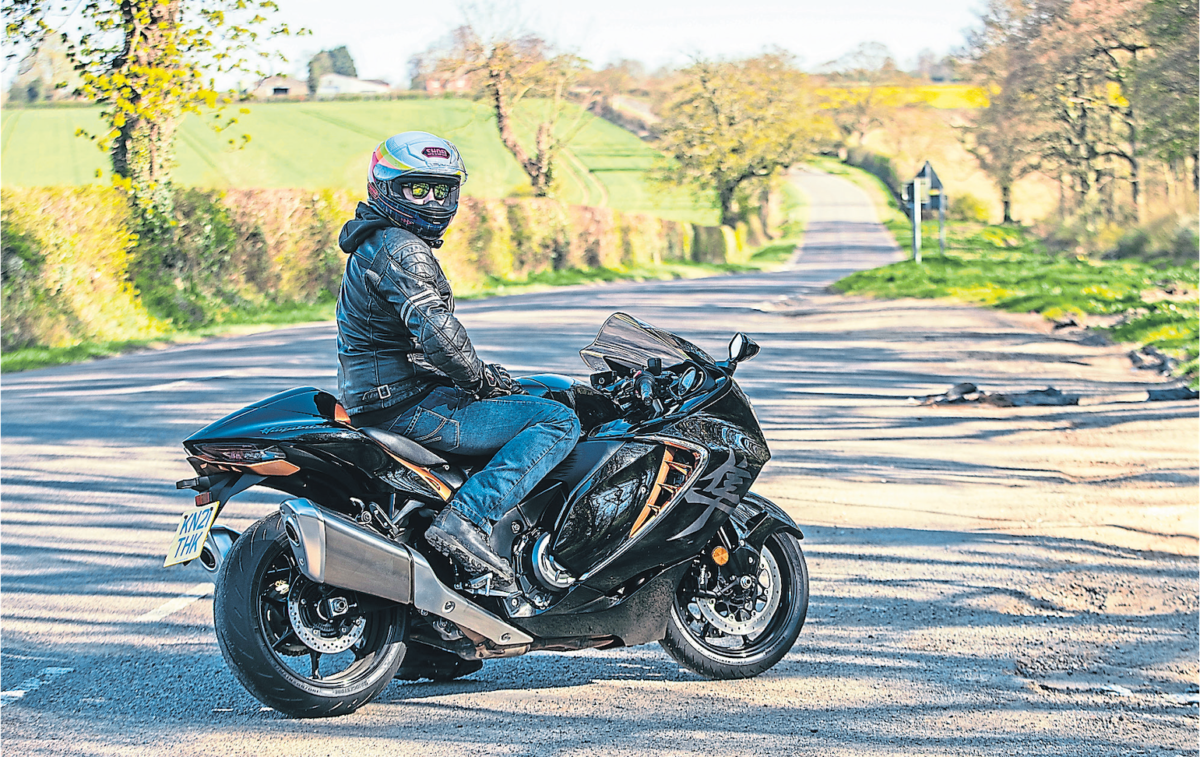
Once she was sparkling, I spent some time thinking about the location. I wanted somewhere that wouldn’t be too distracting, but also wouldn’t be boring. I ended up choosing a quiet, industrial area near my place. It’s got some cool, textured walls and a generally gritty vibe that I thought would contrast nicely with the sleek lines of the ‘Busa.
The Shoot Itself
I packed up my gear – my trusty old DSLR, a couple of different lenses (a wide-angle and a standard zoom), and a reflector to bounce some light around. I also threw in a microfiber cloth, just in case.
Once I got to the location, I spent a good chunk of time just walking around, looking for different angles and backgrounds. I wanted to get a variety of shots – some close-ups of the details, some wider shots showing off the whole bike, and some action shots (well, as much “action” as you can get with a parked motorcycle!).
- I played around with the lighting, using the reflector to fill in shadows and make the bike’s curves pop.
- I experimented with different compositions, trying to find the most flattering angles for the Hayabusa. It’s a beautiful machine, but it can be tricky to capture its full glory in a photo.
- I did my best.
I took a ton of photos. Seriously, hundreds. It’s always better to have too many than too few, right? You can always delete the bad ones later.
Post-Processing
After the shoot, I loaded all the photos onto my computer and started culling. This is where I get rid of all the blurry, out-of-focus, or just plain boring shots. It’s a bit tedious, but it’s necessary.
Then came the fun part – editing! I use a photo editing program to adjust things like exposure, contrast, and color balance. I also did some minor retouching, like removing any dust spots or distracting elements in the background. I like to keep things looking pretty natural, though, so I didn’t go overboard with the filters or anything.
The Final Result
All in all, I’m pretty happy with how the photos turned out! It was a fun little project, and I’m glad I finally got around to doing it. It’s always cool to see your bike through a different lens (pun intended!). I think I captured the Hayabusa, and I’m excited to share them with my friends (and maybe even print a few to hang on the wall!).


