
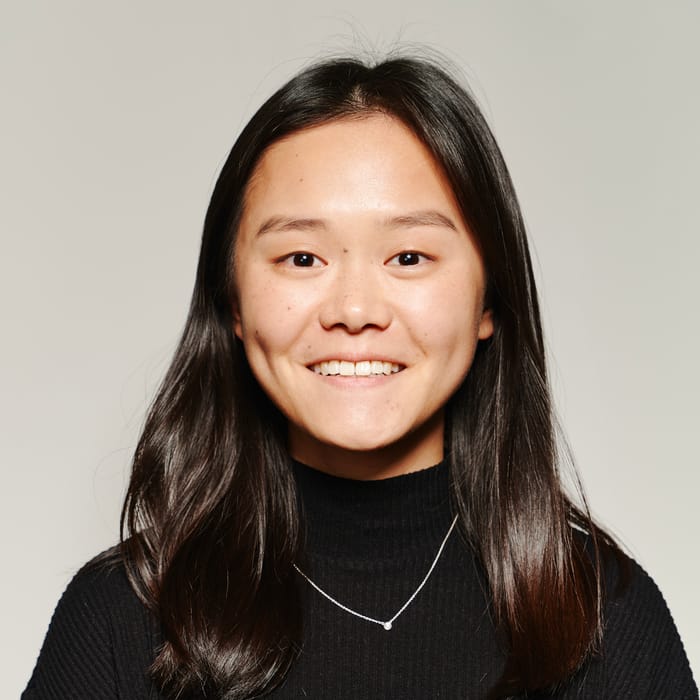
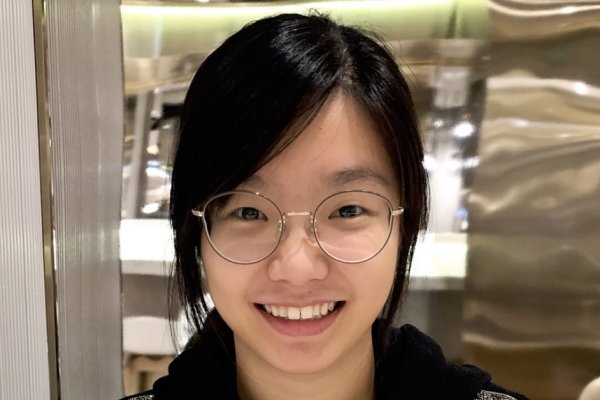
Okay, so today I wanted to mess around with creating some digital art, and I decided to focus on a portrait of Nicole Zhang. I’ve seen some of her modeling work and always thought she had a really striking look. Here’s how the whole thing went down.
Gathering References
First things first, I needed some good reference photos. I did a quick search online and found a bunch of her pictures. I saved a few that showed her face from different angles and with different lighting. It’s always good to have options, you know?
Setting Up My Tools
I use a drawing tablet and a program to do my digital art. I opened up the program and created a new canvas. I like to start with a big canvas size so I have plenty of room to work, and I can always shrink it down later. I also made sure my tablet pen was working right – nothing worse than technical difficulties when you’re in the zone!
Sketching the Basic Shapes
I started by blocking out the basic shapes of her head and shoulders. Just rough circles and lines, nothing fancy. I think I’m drawing a stick of * is just to get the proportions right and make sure everything is placed correctly on the canvas. I constantly adjusted things at this stage, moving her eyes a little, making her nose a bit longer, that kind of stuff.
Refining the Features
Once I was happy with the basic layout, I started refining the features. I focused on her eyes first, because they’re usually the most important part of a portrait. I drew in the shape of her eyelids, her irises, and her pupils. Then I moved on to her nose and mouth, slowly adding more detail.
Adding Shadows and Highlights
This is where the image really starts to come to life. I picked a light source (imaginary, in this case) and started adding shadows and highlights to her face. I used darker colors for the areas where the light wouldn’t hit, like under her chin and on the sides of her nose. I used lighter colors for the areas where the light would hit, like her forehead and cheekbones.

Working on the Hair
Nicole has this amazing long, dark hair, so I wanted to make sure I did it justice. I started by blocking in the general shape of her hair, then I added individual strands and highlights. This part took a while, because I wanted it to look realistic and flowy, so add lots of layer, and then,continue to fix it, make it look real.
Adding Color and Texture
Even though the reference photos were in color, I decided to do a black and white portrait. But I still needed to add some subtle variations in tone to make it look realistic. I used different shades of gray to add depth and texture to her skin and hair. I also used a slightly textured brush to give the skin a more natural look.
I added a background.
Finishing Touches
I am not good at adding any background color,it looks so strange and out of place. I guess this is a fail.
I spent some time making small adjustments, like refining the edges of her hair and adding a few more highlights. I also zoomed out every now and then to get a better overall view of the portrait. It’s easy to get lost in the details and miss the big picture.
And that’s it! It took a few hours, but I’m pretty happy with how it turned out. It’s not perfect, but it’s definitely a good practice session. Digital art is all about experimenting and learning from your mistakes, so I’m always trying new things and pushing myself to improve.


