
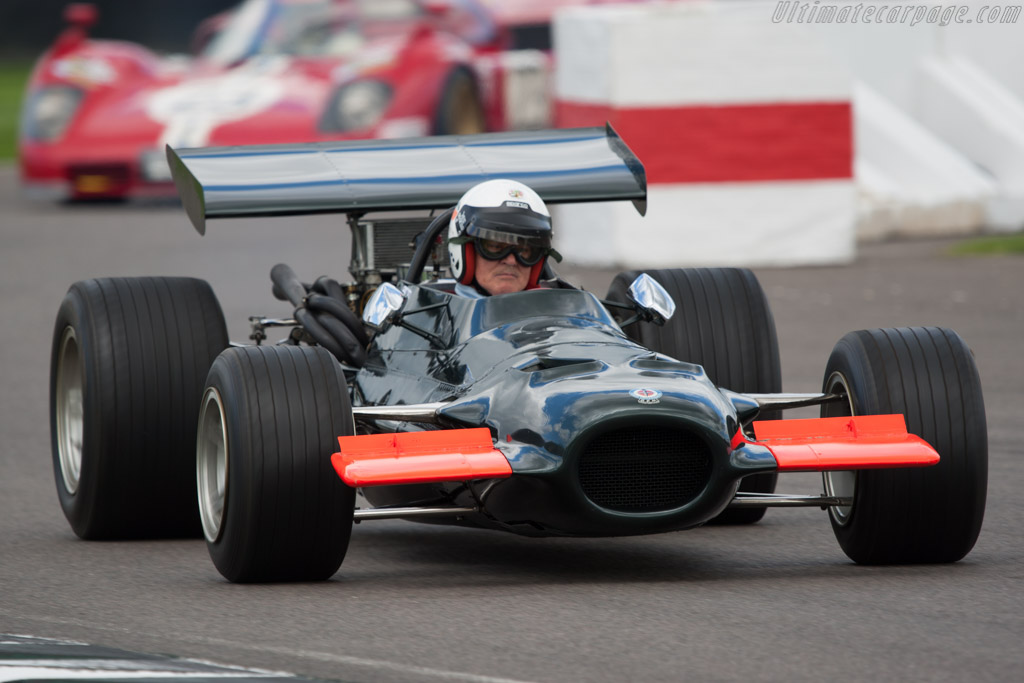
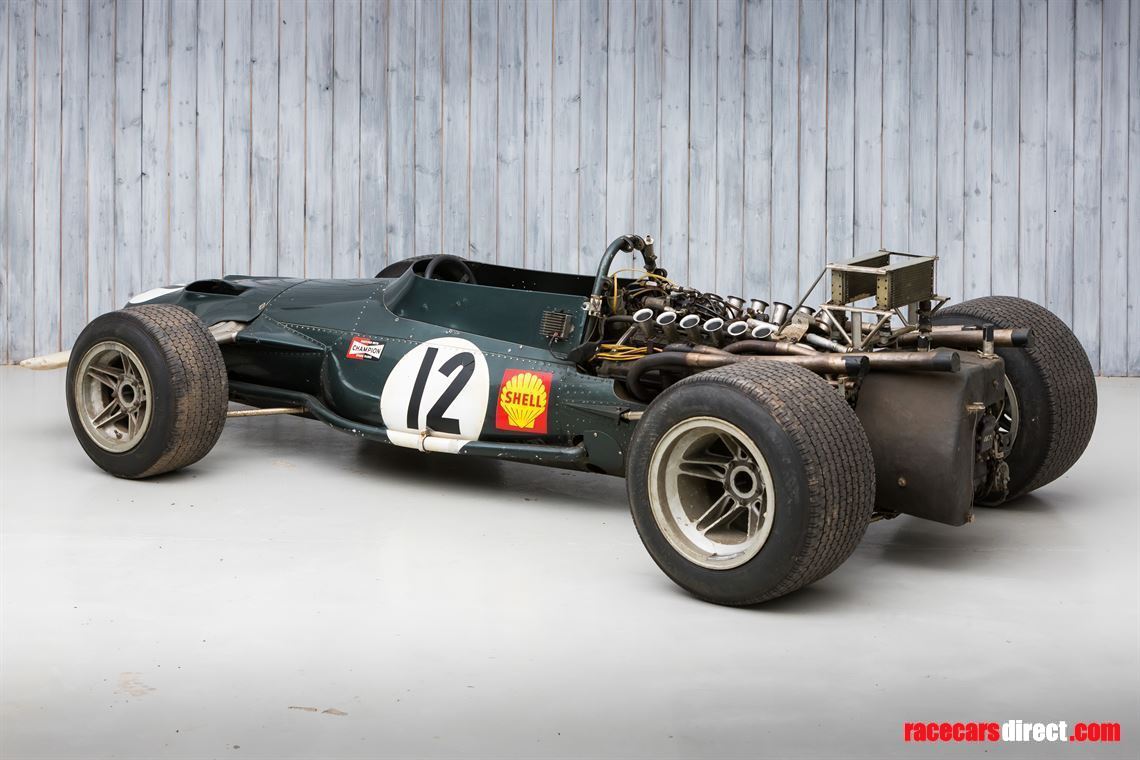
Okay, so I’ve been messing around with classic F1 cars lately, specifically that awesome 1969 BRM. Let me tell you, it’s been a journey, and a bit of a bumpy one at that!
Getting Started
First things first, I needed to find some decent reference material. Pictures, blueprints, anything I could get my hands on. I spent a good few hours just scouring the internet, saving every image I could find. I wanted to get a real feel for the car, you know? Not just the overall shape, but the little details, the rivets, the way the exhaust pipes curve… all that good stuff.
The Build (and the Rebuilds)
I decided to try and build a model of it. My first attempt? Well, let’s just say it wasn’t pretty. I used some cardboard, some glue… it looked more like a melted ice cream truck than a Formula 1 car. My kid even asked if it was a spaceship, and not in a good way.
So, back to the drawing board. I realized I needed better materials. I grabbed some balsa wood, some proper model-making glue, and a decent hobby knife. This time, things started to look a little better. I took my time, carefully cutting out the shapes, trying to follow those reference images I’d found.
- Day 1: Started with the basic chassis. It’s surprisingly complex, all those curves and angles!
- Day 2: Worked on the body panels. Lots of sanding, lots of swearing.
- Day 3: Engine detail… oh boy. This is where things got really tricky. So many tiny parts!
The Details Make the Difference
The engine was a real pain. So many little bits and pieces. I almost gave up a couple of times, honestly. But I kept pushing, and slowly but surely, it started to come together. I even used some tiny wires to simulate the spark plug leads. I felt like a real craftsman, even though my fingers were covered in glue.
Paint Job and Finishing Touches
Once the main structure was done, it was time for paint. I went with that classic BRM green, of course. I did a few coats, sanding in between to get a nice, smooth finish. Then came the decals. I found some online, printed them out, and carefully applied them. It was like the final piece of the puzzle.
The Final Result
It’s not perfect, far from it. There are a few wobbly bits, some glue stains here and there… but you know what? I’m pretty proud of it. It’s a little piece of F1 history, sitting on my shelf. And every time I look at it, I remember the process, the frustration, and the satisfaction of building something with my own two hands. It’s not about perfection, it’s about the journey, right?


