Okay, here’s my take on sharing my “fifa 19 cover” practice session, blog style.
Hey everyone! Been messin’ around again, this time tryin’ to recreate the FIFA 19 cover. Sounds simple, right? Well, let me tell you, it was a journey.
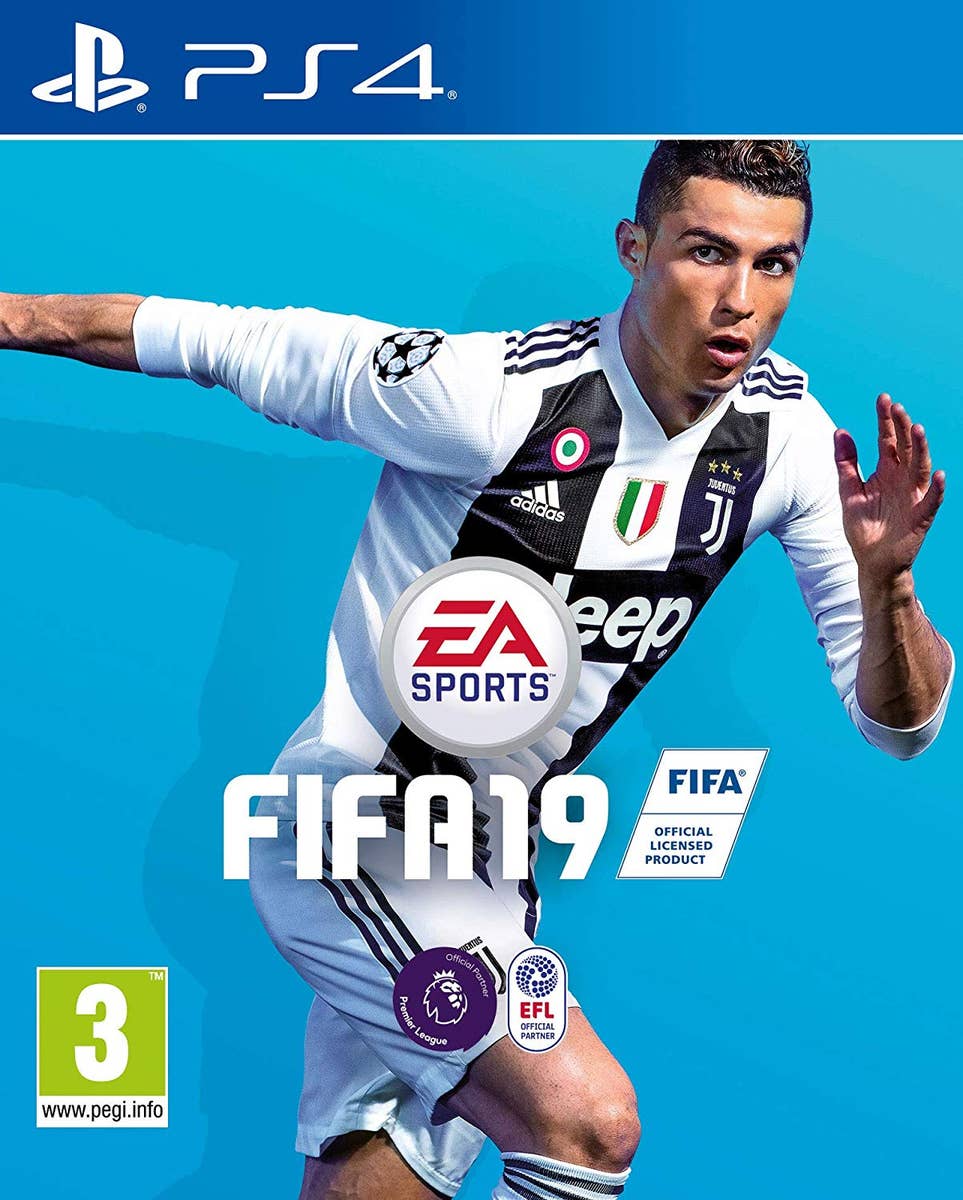
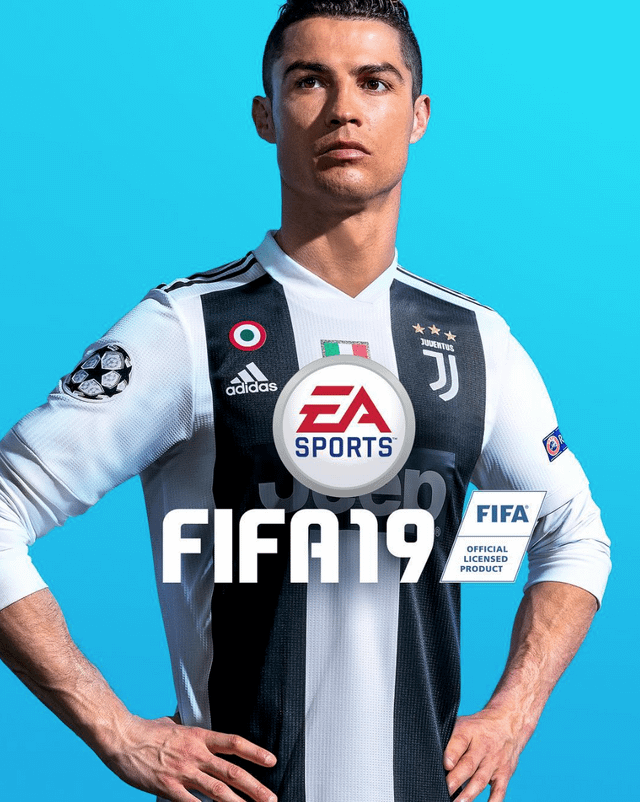
First things first, I needed a reference. I grabbed a high-res image of the official FIFA 19 cover. You know, the one with Ronaldo in his Juventus kit. Had to have that for accuracy.
Next up was the software. I’m most comfortable with Photoshop, so that’s what I used. Fired it up and created a new document with a decent resolution. Didn’t wanna end up with a blurry mess.
- Finding the Right Ronaldo Image: This was tougher than I thought! Getting a pic of Ronaldo in the exact pose, with the right lighting… yeah, spent a good hour scrounging around online. Finally found one that was close enough. Had to do some tweaking later.
- Background Blues: The background is a gradient, right? Easy peasy, thought I. Wrong! Matching the exact shades of blue and getting that subtle transition took a bunch of fiddling with the gradient tool. I started with a basic blue-to-darker-blue gradient, then added a layer of noise to mimic the texture of the original.
Then came the real fun: cutting out Ronaldo. Used the pen tool for precision, trying to get every hair strand. This part always takes forever. After I made the selection, I created a layer mask so I could go back and fix any rough edges.
Ok, so Ronaldo was looking kinda pasted in. Needed to work on the lighting. I used the dodge and burn tools to highlight the areas where the light was hitting him, and darken the shadows. This helped him blend in better with the background.
Now for the Juventus logo. Found a vector version online, slapped it on his jersey, and adjusted the size and perspective. It needed to look like it was actually on the fabric, not just floating there.
Text time! The “FIFA 19” logo is pretty iconic. I downloaded the correct font (or something really close to it) and typed it out. Added a drop shadow and a subtle gradient to make it pop.
Here’s where I spent the most time: details. I zoomed in really close and started adding little touches. Sharpening certain areas, adding subtle color correction, blurring other spots to create depth of field. All that jazz.
Kept comparing my version to the original, tweaking things until I was happy-ish. You’re never completely happy, are you?
Finally, I saved it as a high-quality JPEG. Then I posted it online, ready for the world to see (and probably criticize).
Lessons Learned:
- Patience is key! Don’t rush the details.
- Good reference images are essential.
- Dodging and burning can work miracles.
Overall, it was a fun little project. Definitely learned a few things along the way. Might try another cover next time. Maybe FIFA 20? Who knows!


