
Okay, folks, let’s dive into how I spent my weekend – getting Palworld running on my own server. I’m no tech wizard, but I like tinkering, so here’s the lowdown on what I did.
Setting Up the Basics
First things first, I needed a server. I went with a game server ’cause, you know, it’s for a game. The process was pretty straightforward – picked a plan, signed up, and waited for the confirmation email. Nothing too crazy there.
Getting Everything Ready
Once the server was up, I had to get into it. I use a tool to connect to remote servers. Popped in the server’s IP address, username, and password, and boom, I was in. Looked like a bunch of scary command-line stuff, but don’t worry, it’s not as bad as it looks.
Installing the Necessary Stuff
Now, the server was basically a blank slate. I needed to install some software to make Palworld work. It needed SteamCMD, this is a command-line version of Steam, that lets you install game servers and do it automatically.
Then, I needed to get some dependencies with many command, like libraries. They are called “dependencies” because they are things the palworld server app depends on.
It’s like making sure you have all the ingredients before you start baking a cake.
Downloading and Setting Up Palworld
With all the prerequisites installed, it was time to grab the Palworld server files. I used SteamCMD for this. It’s a command-line tool, so I just typed in a few commands to download the server files to the right place. It felt a bit like hacking, in a good way!
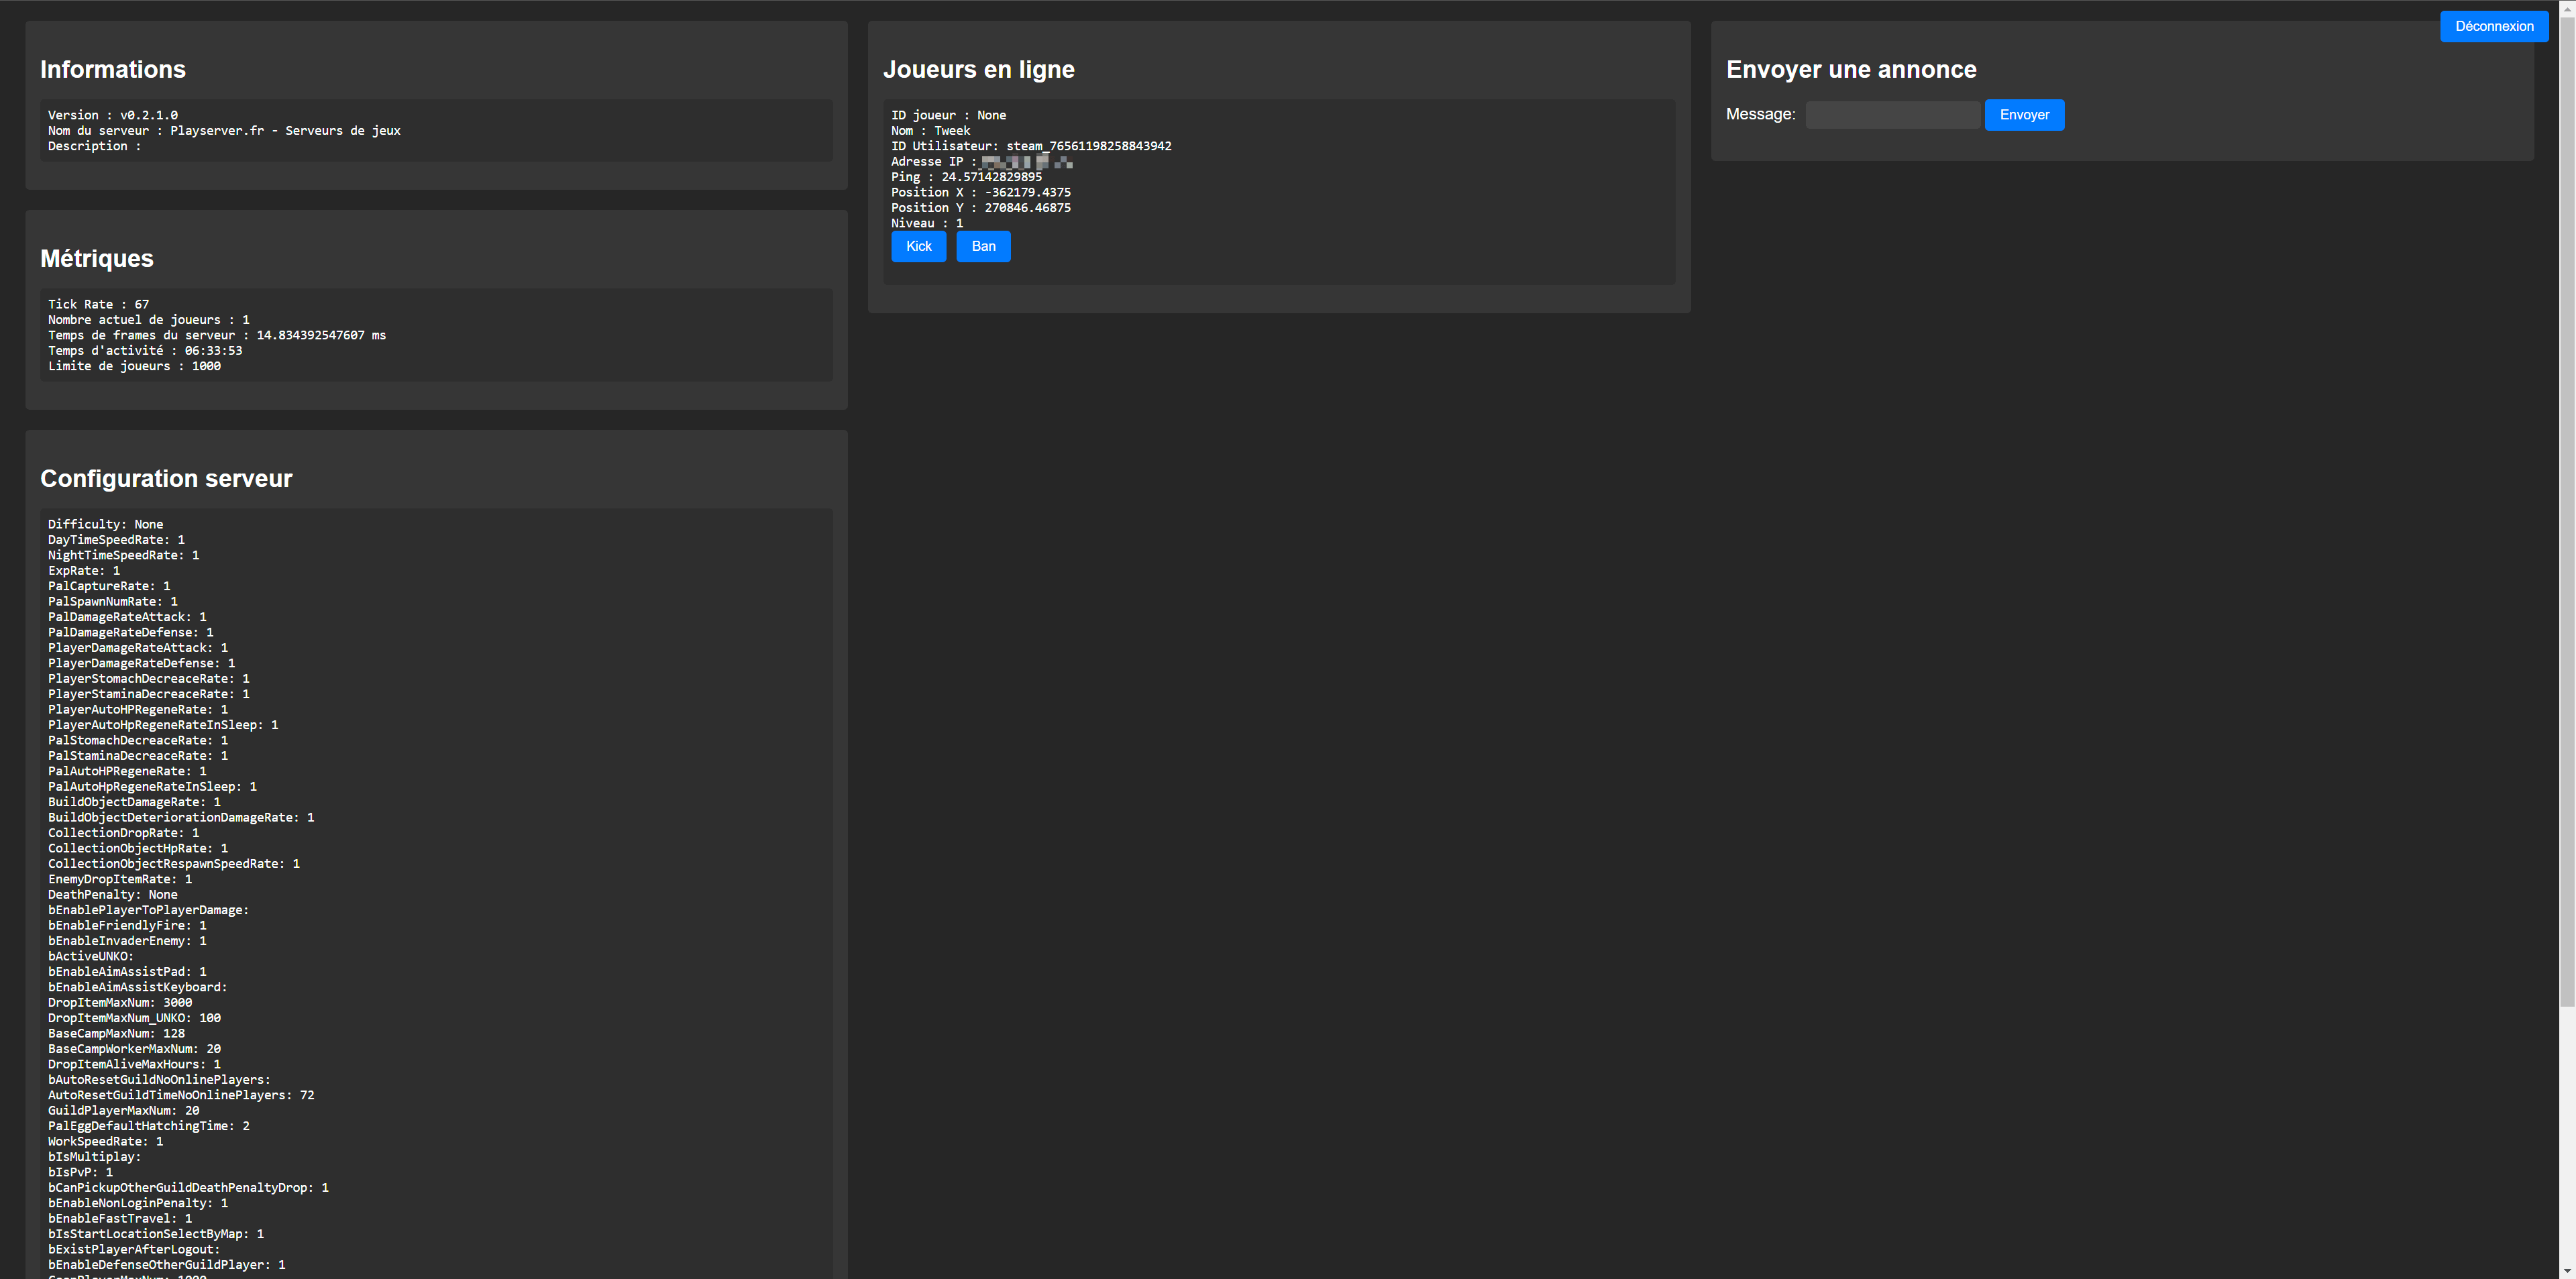
Configuring the Server
This part was a little tricky. I had to edit a configuration file to set up the server settings – things like the server name, password, number of player slots, and all that jazz. I just opened the file in a text editor and tweaked the values. Made a few mistakes, but eventually got it right. Remember to back these up!
- Opened the config file.
- Changed the server name. Messed this up twice.
- Set a password. Don’t want random people joining!
- Adjusted the player limit.
Starting the Server
Finally, the moment of truth! I ran the command to start the Palworld server. It took a few seconds, and then… it worked! I saw a bunch of text scrolling by, and it said the server was online. Woohoo!
I open up my computer, launch the game, went to the multiplayer section, typed in my server’s IP address and password, and… I was in! My very own Palworld server, up and running.

I spent a big times of the rest of the weekend playing with friends. It was totally worth the effort. A few hiccups along the way, but hey, that’s part of the fun, right?
Keeping It Running Smoothly
I needed to make sure everything was set up to automatically run the server in the background.
So there you have it. That’s how I digitized Palworld. It wasn’t super easy, but it wasn’t rocket science either. If I can do it, you probably can too. Just take it one step at a time, and don’t be afraid to make mistakes. That’s how you learn!


