Alright, so the other day I got this idea in my head, you know? I just really wanted to try and draw the Iron Giant. Love that movie, love that big guy. So, I figured, why not give it a shot?
My Process: Getting the Giant on Paper
First things first, I needed some good pictures to look at. So, I went online and searched for a bunch of images of him. I tried to find different poses, close-ups of his face, his hands, the whole deal. It’s always good to have a few references, helps you understand the shapes better.
Then, I grabbed my sketchbook and a pencil. Nothing fancy, just a regular pencil and paper. I started by lightly sketching out the basic shapes. You know, like a big ol’ boxy shape for his torso, some cylinders for his arms and legs, and a sort of rounded block for his head. At this stage, it looked pretty rough, kinda like a toddler’s robot drawing, to be honest!
Working on the Outline
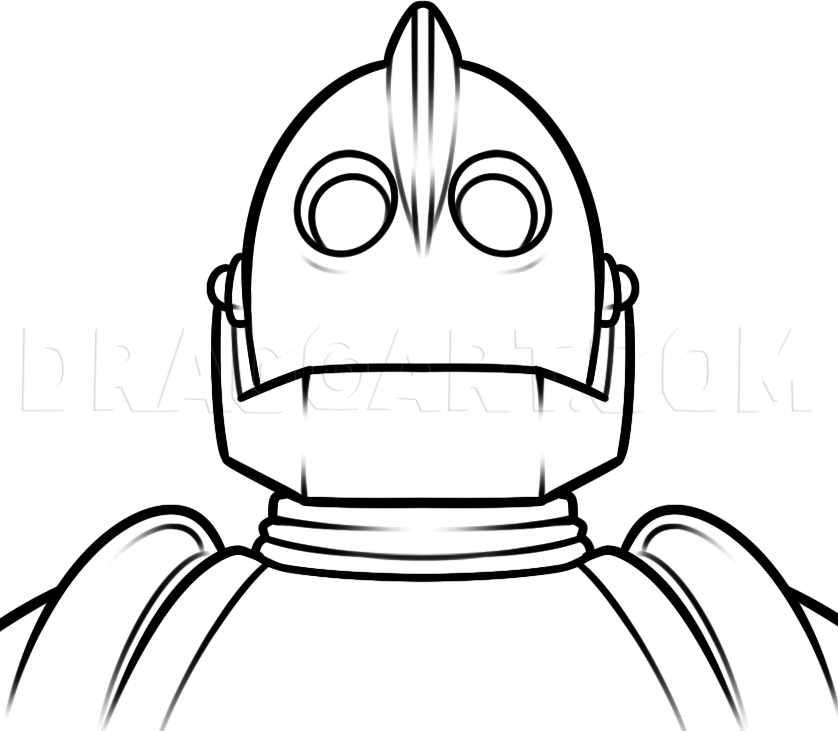
Once I had those basic shapes down, I started to refine the outline. This is where I really began to see him take form. I focused on getting his shoulders broad enough and that distinctive head shape with those fin-like things on the sides. His hands are massive, so I spent a bit of time trying to get their general shape right too. It’s all about building it up slowly.
Adding the Details
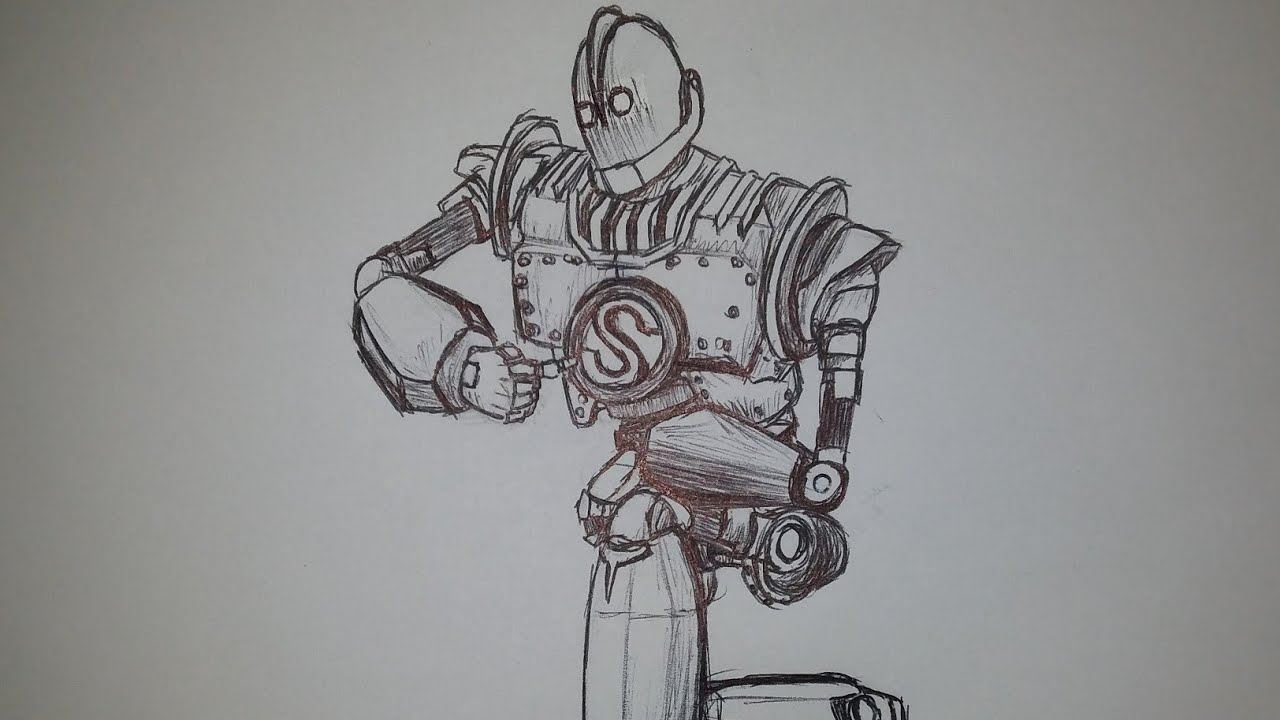
Okay, with the main outline looking decent, it was time for the details. This is the fun part, but also where you can get bogged down if you’re not careful.
- His eyes are super important. They’re simple, but they need to have that kind, slightly sad look. I redrew them a couple of times.
- Then there’s his jaw and mouth area. It’s got that strong, metallic look, so I tried to capture that with some clear lines.
- After the face, I moved on to his body. Adding all those panels, rivets, and the occasional dent or scratch. He’s an old robot, after all, he’s seen some action! I didn’t go crazy with the detail, just enough to give the impression of it.
Shading and Finishing Touches
I’m no expert at shading, but I tried to add a little bit here and there. Just to give him some depth and make him look a bit more three-dimensional. I focused on where shadows might fall, like under his chin, and on the sides of his limbs. It definitely helped him pop off the page a bit more.
There was a fair bit of erasing and adjusting throughout the whole process, especially with proportions. Sometimes an arm would look too short, or a leg too skinny. You just gotta step back, take a look, and fix it. No big deal.
What I Learned
Honestly, it was a really enjoyable way to spend an afternoon. I’m pretty happy with how he turned out. Not a masterpiece, for sure, but definitely recognizable as the Iron Giant. It’s always satisfying to start with a blank page and end up with something you created yourself.
The main thing is just to start simple and build up. And don’t be afraid to make mistakes – that’s what erasers are for! If you’re a fan, I’d say give it a go. It’s good fun.


