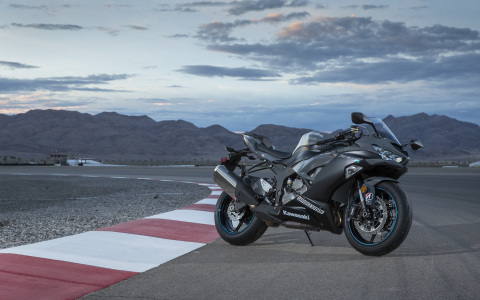
Okay, so I’ve been wanting to mess with my Kawasaki ZX6R’s dashboard for a while now. It’s a cool bike, but I felt like the dash could use a little something extra, you know? So, I decided to dive in and see what I could do.
Getting Started
First things first, I needed to figure out how to actually get to the dashboard. I spent some time just looking at the bike, checking out where everything was connected. I didn’t want to start pulling things apart without a general idea of what I was doing.
After poking around for a bit, I carefully started removing some of the fairing pieces. I’m no mechanic, so I took it slow. I used some basic tools – a socket set, some screwdrivers, and a plastic pry tool to avoid scratching anything. I made sure to keep all the screws and bolts organized so I could put it back together later!
Taking a Look Inside
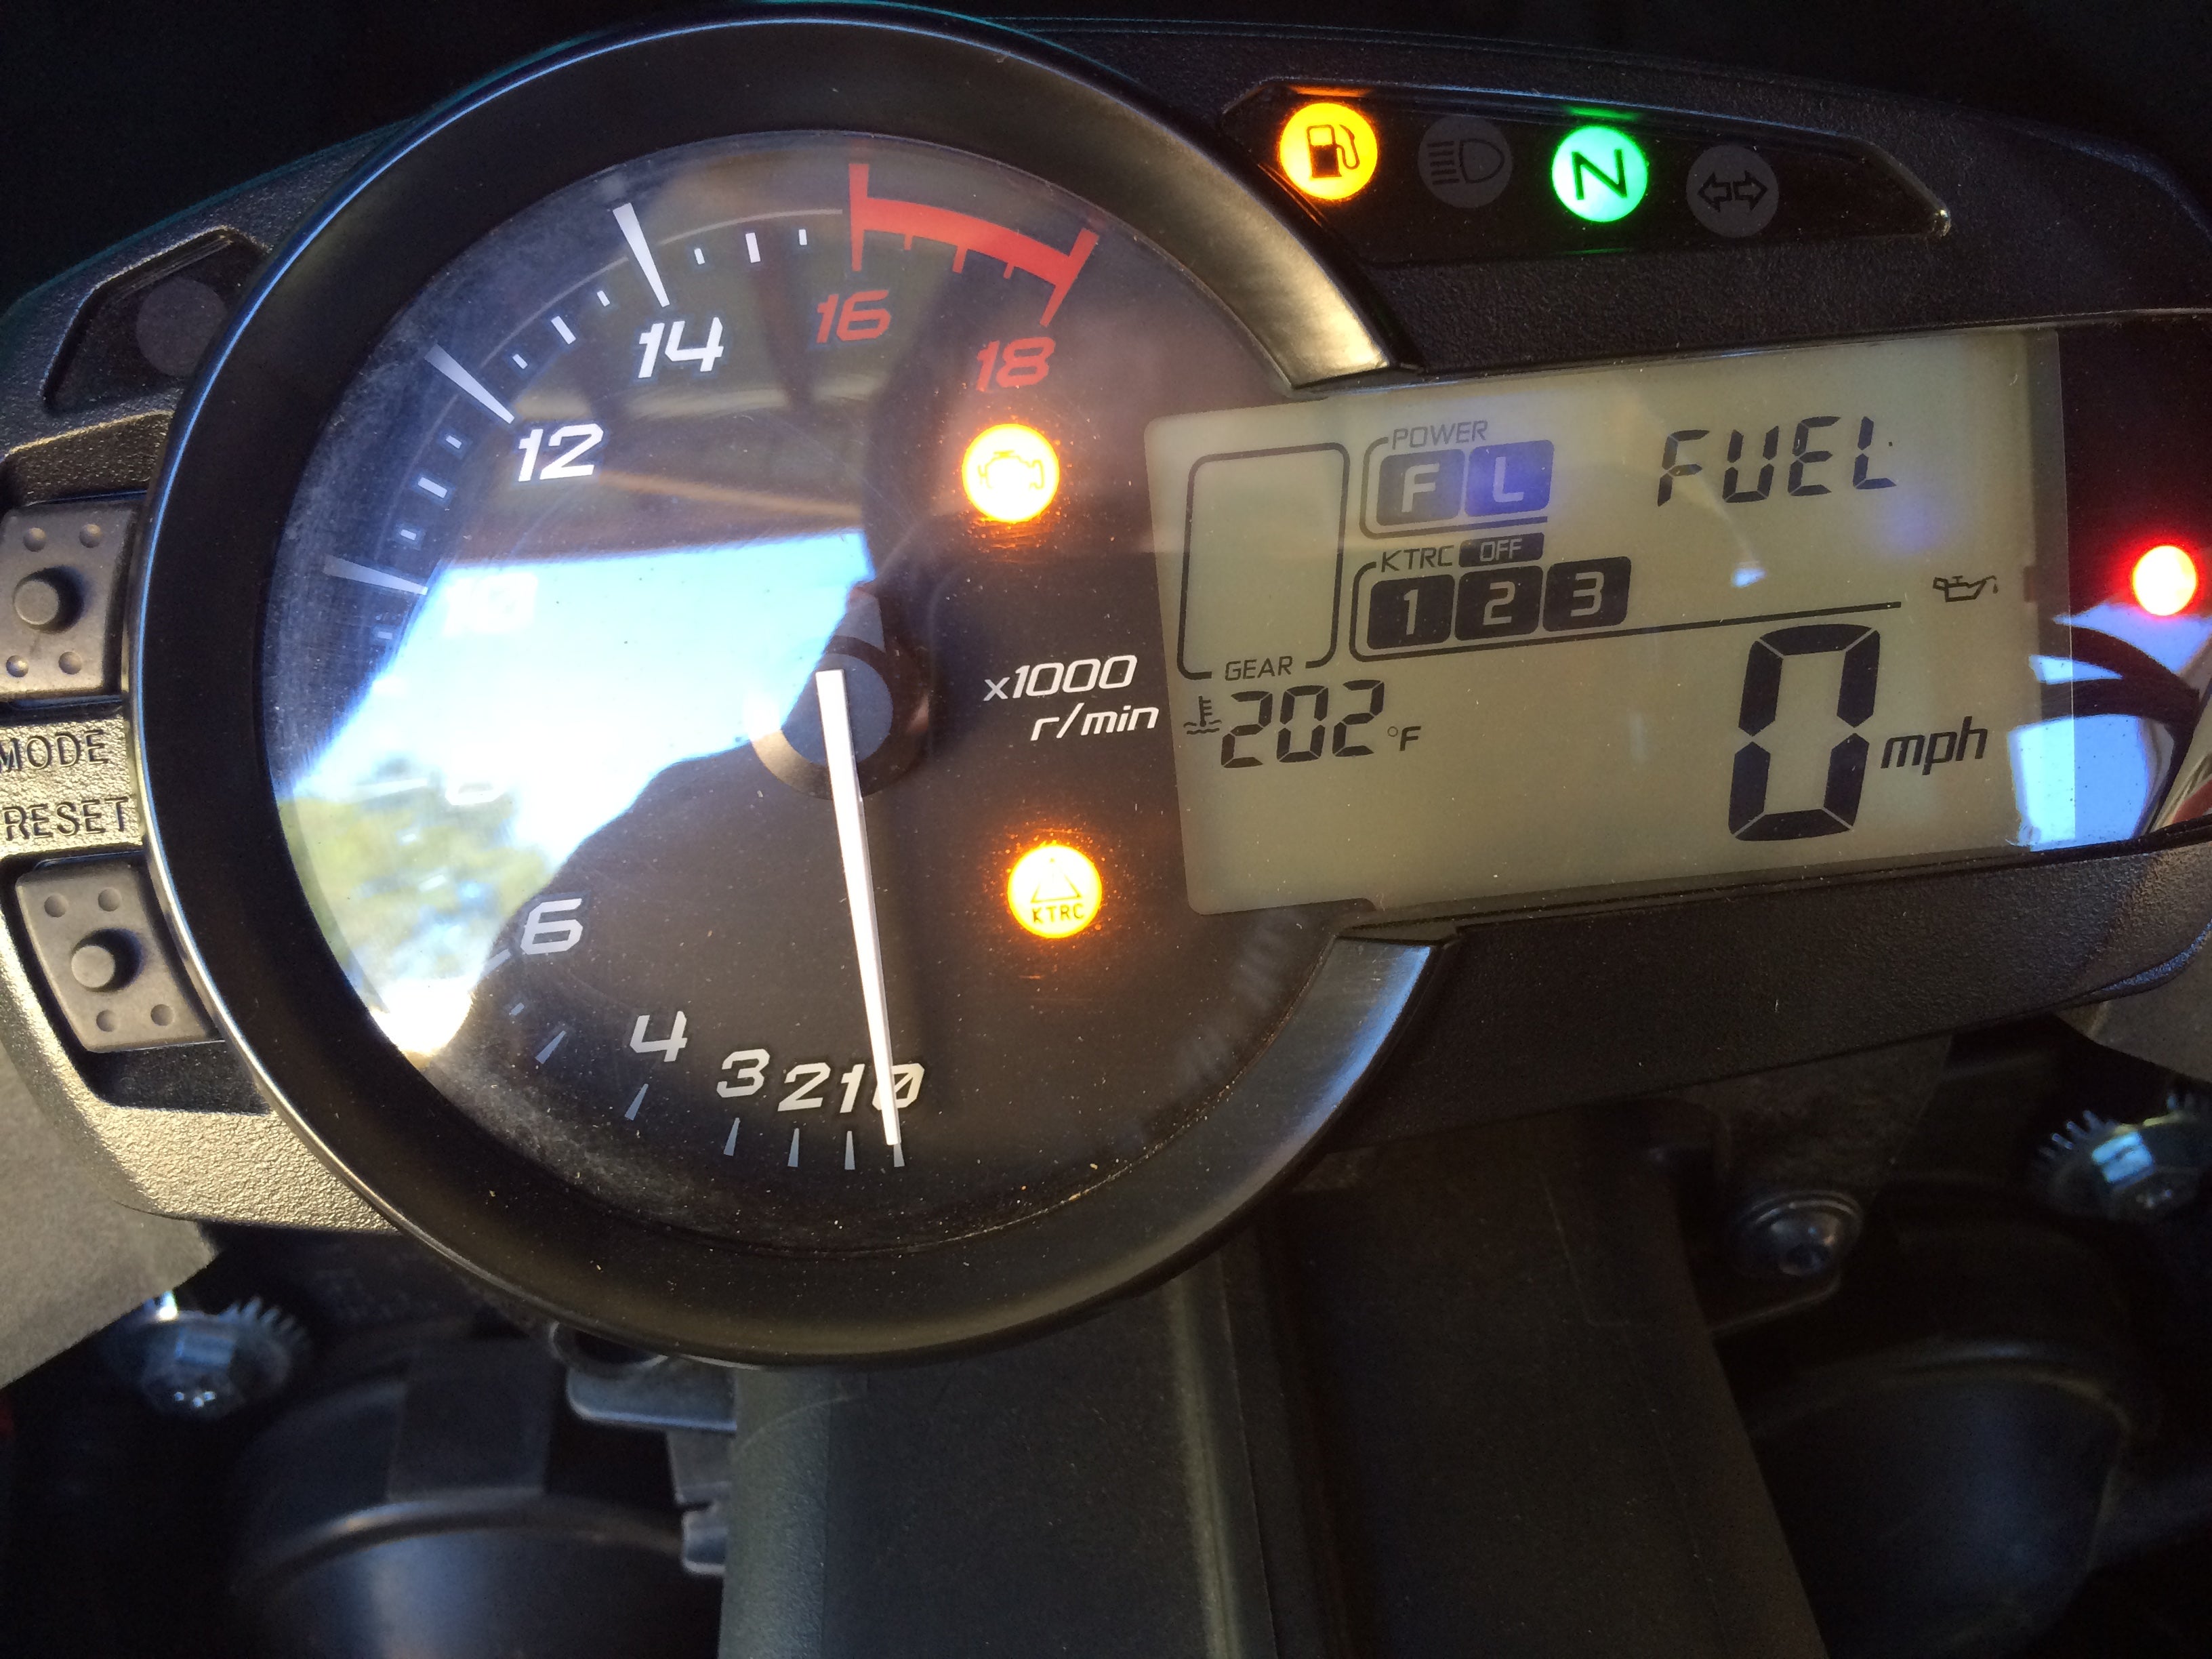
Once I had the fairing off, I could finally get a good look at the dashboard assembly. It was pretty straightforward – a few more screws and some wiring connectors, and I had the whole thing out. I disconnected the battery before messing with any of the electrical stuff, just to be safe.
With the dashboard on my workbench, I could see how it all worked. It’s basically a circuit board with a display and some lights. I’m not an electrical engineer, but I’ve tinkered with electronics before, so I felt comfortable enough to keep going.
My Idea
I noticed there is a unused space inside the dashbord, I though, maybe I can add something into it.
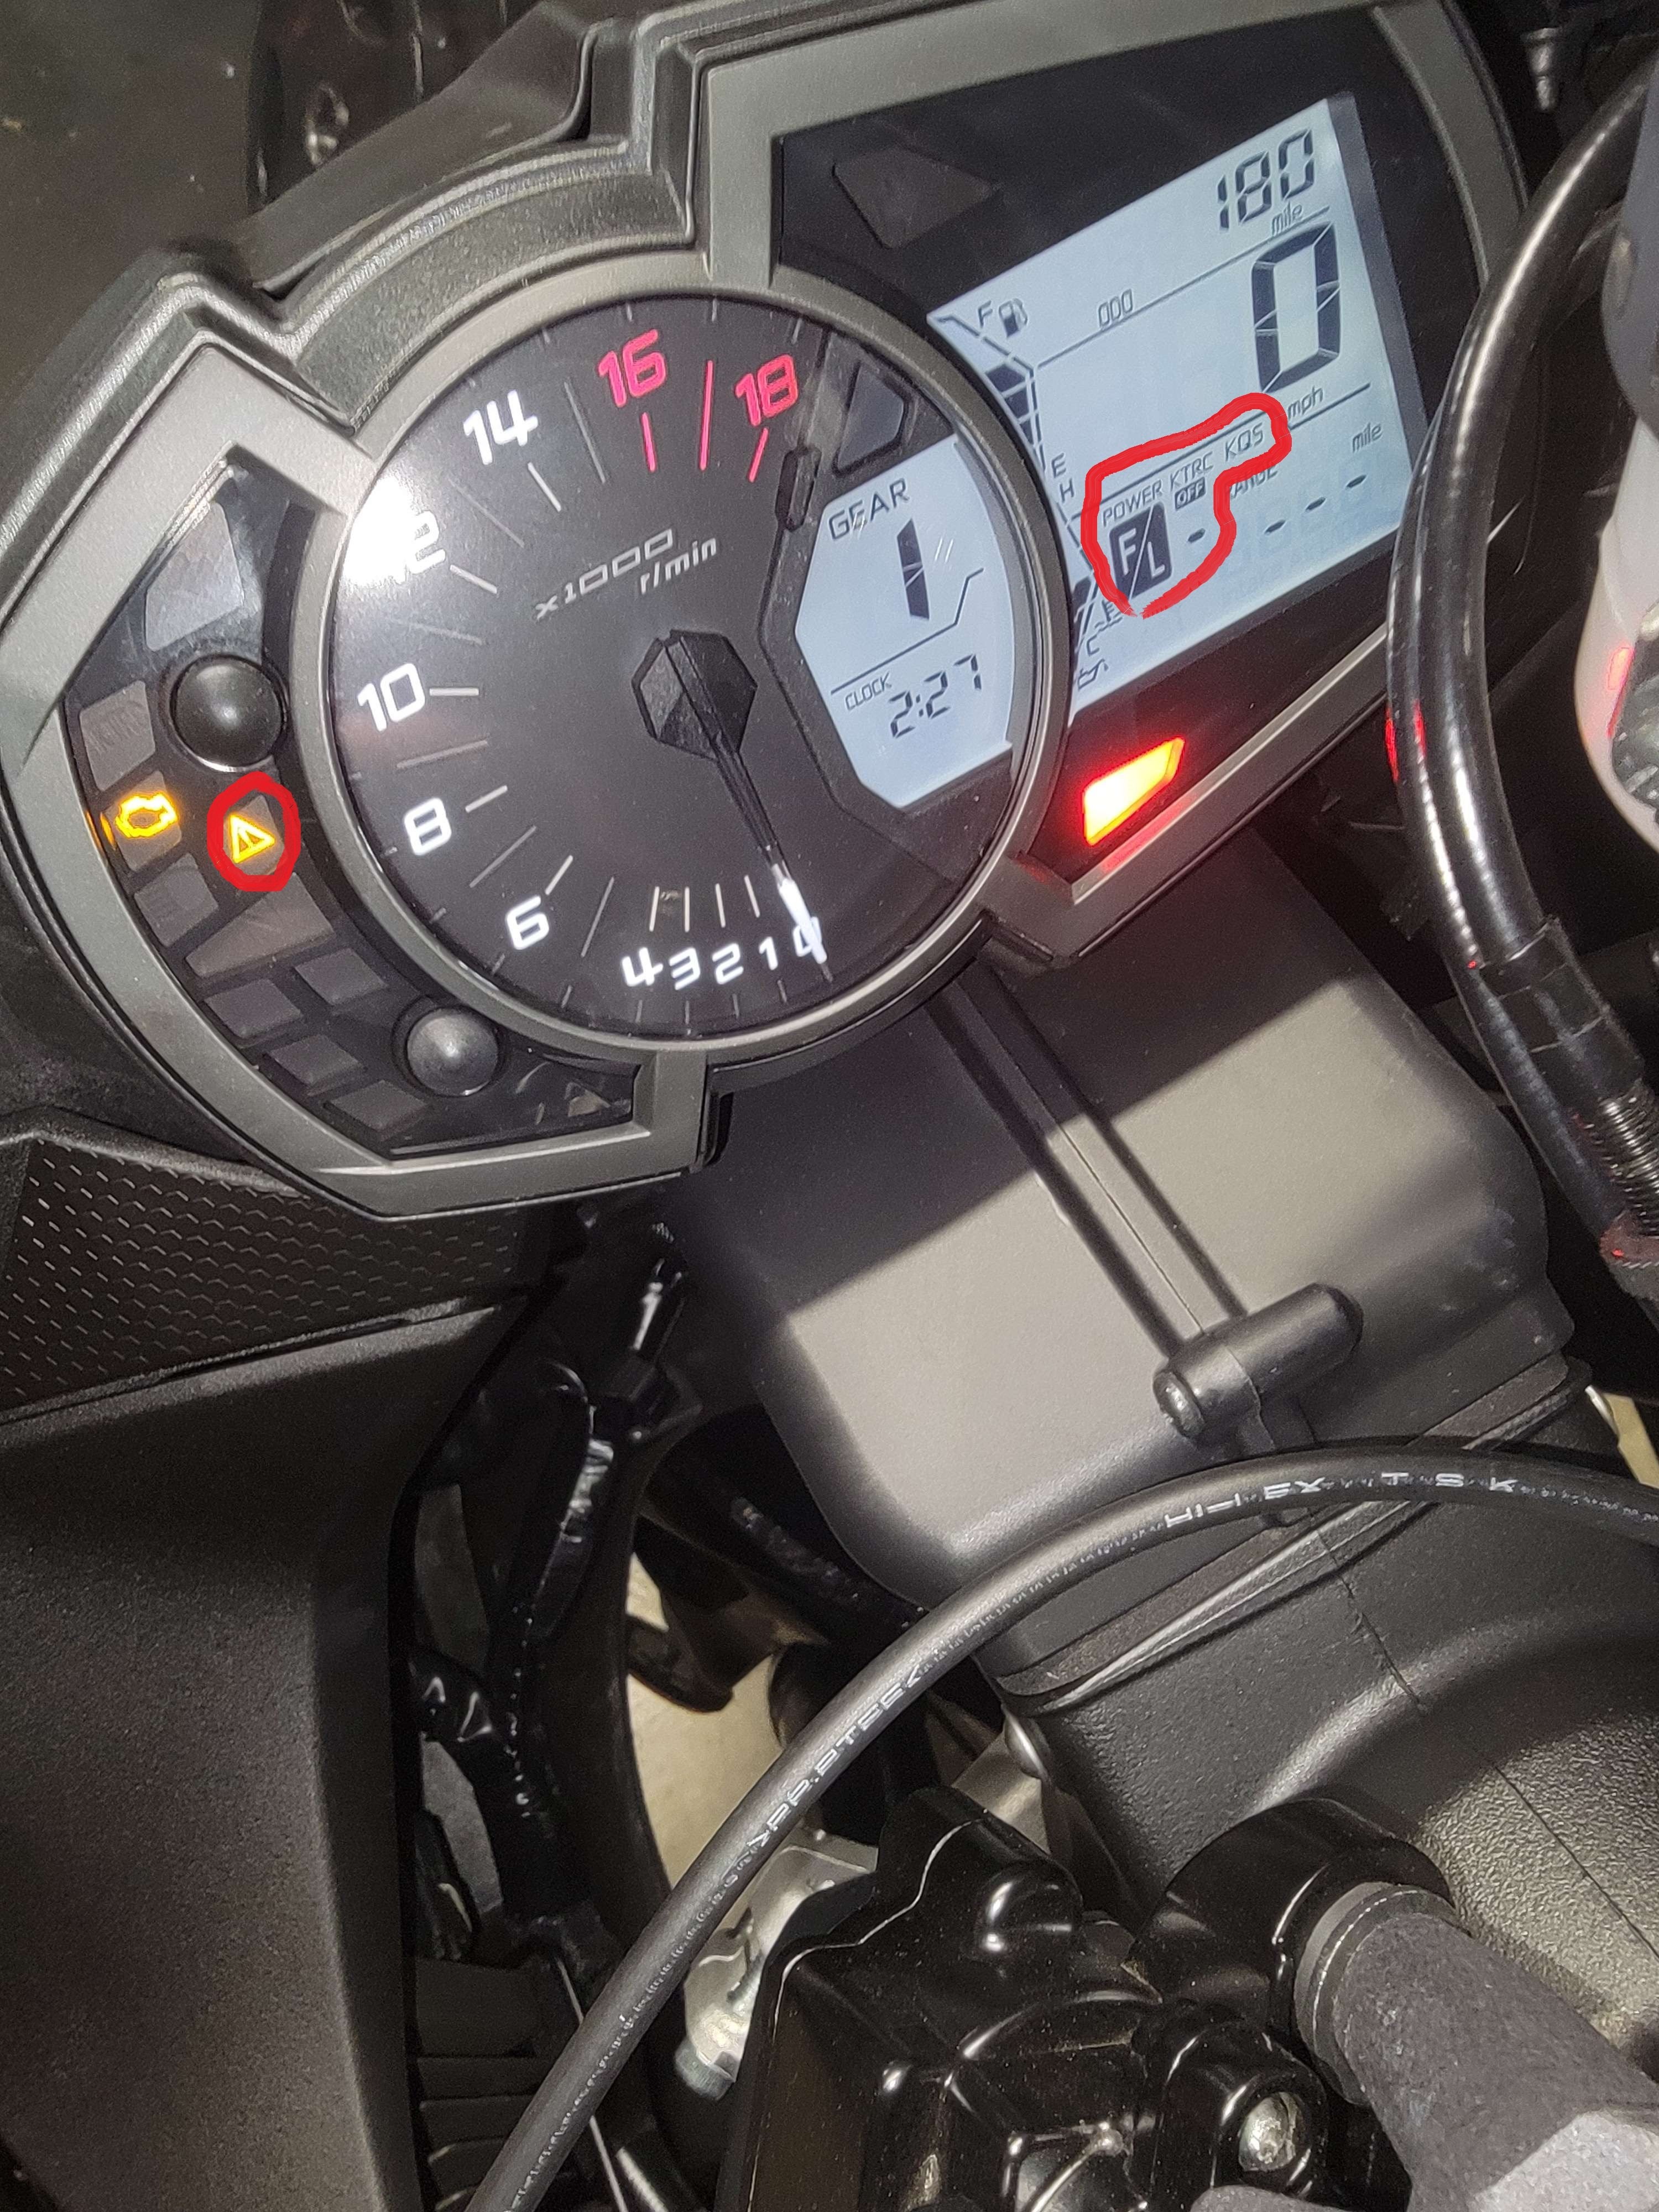
So, I decided to use a small OELD screen, and connect it to the additional board, to show more information in the dashbord!
Making it Happen
- Carefully opened the dashboard, and find the place where the new screen can fit in.
- Soldering the new wires, and connect the new screen to the circuit board.
- Tested it out!
Putting It Back Together
After I finished my customization, it’s time to put everything back.
Following the dissamble steps, and carfully connect all wires, screws, and fairing pieces, I successfully put my dashboard and fairing back.
It’s actually turned out pretty well. I did some simple customization to my dashboard, and it feels more personal now. It wasn’t a super complicated project, but it was fun to do, and I learned a bit more about my bike in the process.


