
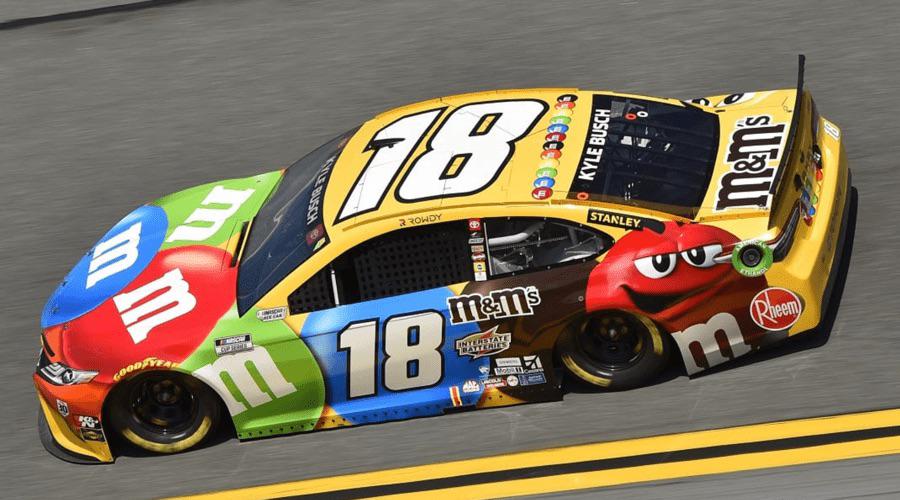
So, I got this idea buzzing in my head about the M&M’s NASCAR car. You know the one, bright yellow, covered in candy characters. Always thought it looked pretty cool zipping around the track. I used to build models way back when, like, ages ago, and thought, why not try and build that specific car?
Found myself grabbing one of those model kits online. Wasn’t too expensive, thankfully. When it arrived, I opened the box, and man, the smell of plastic hit me. Nostalgia, right? Spread all the parts out. Looked like a lot, all those little bits still attached to the plastic frames, sprues, I think they call ’em. Instructions seemed okay, mostly pictures.
Getting Started
First step was figuring out what needed painting before sticking things together. The engine, the chassis, interior bits. Had to grab some paints. That specific M&M’s yellow was key. Found something close enough. Also needed red, blue, green, the usual M&M colors for details. And black, lots of black for tires and mechanical parts.
Building the engine was fiddly. Tiny parts. My fingers felt huge trying to handle them. Needed glue, just the model cement stuff. Let me tell you, patience is something you rediscover doing this. I put the engine block together, painted it up. Looked alright, actually. Then moved onto the chassis and suspension. More small parts, more careful gluing.
The body shell needed the most attention. Getting that yellow paint smooth took a few tries. Had to let it dry completely between coats. Rushing it just makes it look bad, learned that the hard way before. Once the yellow was done and dry, properly dry, came the hardest part.
The Decal Challenge
Ah, the decals. The sheet looked awesome, all the M&M characters, the sponsor logos, the number. But getting them off the sheet and onto the car? Whole different story.
- Cut out the decal you need.
- Dip it in water for a bit.
- Slide it off the backing paper onto the model.
- Try to position it perfectly before it sticks or tears.
Sounds easy? It’s not. Especially the big ones that wrap around curves. They wrinkle, they rip, they fold over. Had a couple casualties, tiny tears here and there. One of the M&M characters ended up looking a bit stretched. Took ages, honestly. Lots of deep breaths involved. Used one of those decal setting solutions, supposed to help them conform to the curves. It kinda worked.
Finally got all the main decals on. Then the smaller sponsor logos. It started looking like the real deal, which felt pretty good. Let those dry overnight, super carefully.
Last steps were putting the main parts together. Attaching the body to the chassis, putting the wheels on. Had a moment where things didn’t quite line up, needed a bit of gentle persuasion, let’s call it. Snapped the wheels on, glued the windows in (careful not to get glue smears!), added the spoiler.
And then, basically, it was done. Stood back and looked at it. It’s not perfect, you know. Up close you can see where the paint isn’t flawless or where a decal has a tiny wrinkle. But from my shelf? It looks like the M&M’s car. It was a fun way to spend a few evenings, brought back some memories. Just a simple project, building that M&M’s NASCAR ride.


