
Okay, here’s my blog post about setting up a motorcycle tent:
Alright, so I’ve been planning this motorcycle camping trip for ages, and a big part of the plan was figuring out my sleeping situation. I didn’t want to lug a regular tent around, so I started looking into these things called “motorcycle tents.” Sounded perfect – something compact, easy to set up, and specifically designed for us bikers. Let see how it goes with my pratical steps.
The Hunt Begins
First thing I do was hit up some online shops and forums. I Spent hours reading reviews, comparing specs, and watching those cheesy setup videos. I needed something waterproof, for sure, because, you know, weather. And it had to be easy to pack. No one wants to wrestle with tent poles after a long day of riding.
Making a Choice
After a lot of back-and-forth, I finally settled on one. It’s from this Brand, seemed to have decent reviews, and the price wasn’t outrageous. It was a model that had a little “garage” area for the bike, which I thought was pretty cool. Extra protection from the elements, you see?
The Unboxing and First Impressions
When the box arrived, I was like a kid on Christmas morning. Tore that thing open and spread everything out on my living room floor. The tent came in this stuff sack, and all the poles and stakes were neatly organized. The material felt pretty tough, which was a good sign.
Practice Makes Perfect
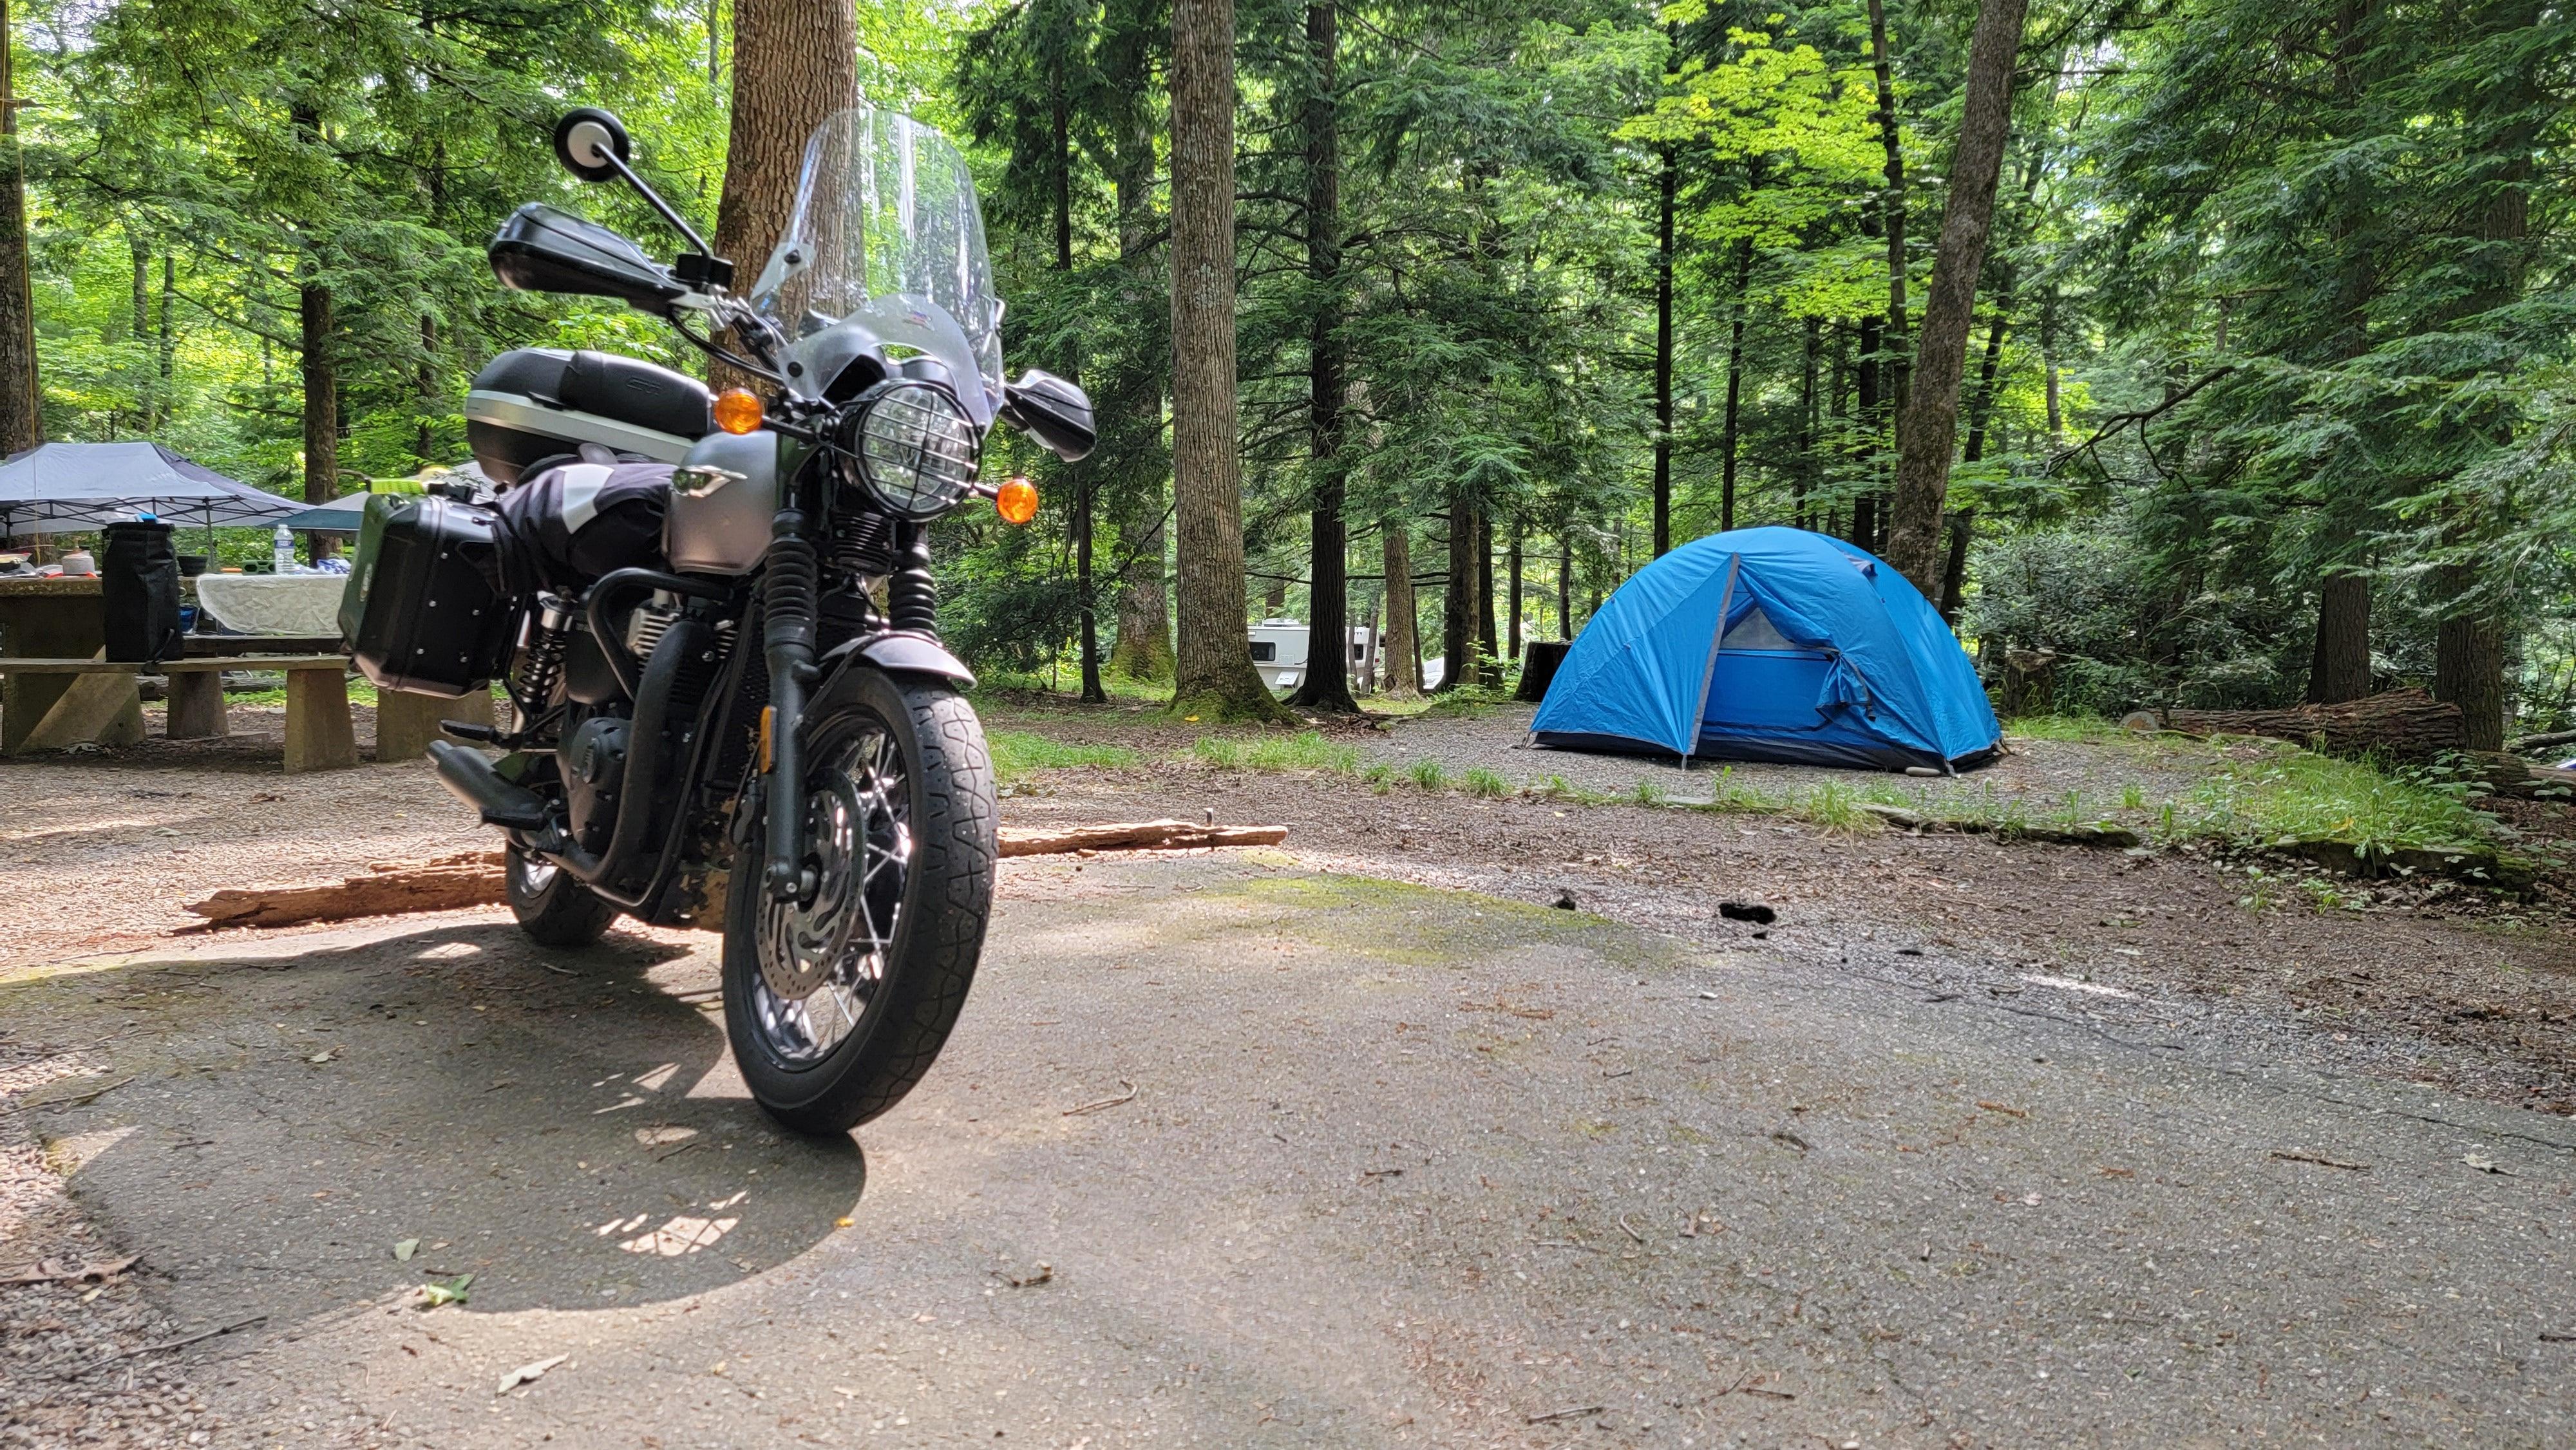
Now, I’m no expert camper, so I figured a practice run was in order. I’m so glad I did this! The first time setting it up in my backyard was a bit clumsy. I followed the instruction, but,I still had a few “oops” moments. Took me probably 45 minutes to get it all sorted. I also tried to put my lovely motocycle into the “garage” part. Oh, it is perfet for my motocycle!
- Step 1: Lay out the tent footprint (if your tent has one).
- Step 2: Spread the tent out on top of the footprint.
- Step 3: Assemble the tent poles (usually color-coded, thank goodness).
- Step 4: Insert poles into the tent sleeves or clips.
- Step 5: Stake down the tent corners.
- Step 6:Attach the rainfly (if it’s separate).
The Real Deal
Finally, the camping trip arrived! After a solid day of riding, I pulled into the campsite. This time, setting up the tent was way smoother. It took me less than 20 minutes, I think it’s much faster than my first time. The “garage” part was awesome – kept the morning dew off my bike, and I felt a little better knowing it wasn’t totally exposed.
Lessons Learned
Overall, I’m super happy with my motorcycle tent. I slept comfortably, and it gave me the best experience during the motocycle camping.
Here are a few things I picked up along the way:
- Definitely practice setting it up before your trip.
- Make sure you have a good spot picked out at the campsite – level ground is your friend.
- Don’t forget a decent sleeping pad and sleeping bag!
- Consider bringing a small tarp to put under the tent for extra ground protection.
So, that’s my motorcycle tent adventure. If you’re thinking about doing some motorcycle camping, I definitely recommend looking into one. It’s way better than trying to squeeze into a tiny backpacking tent, trust me.

Good luck for you guys!


