
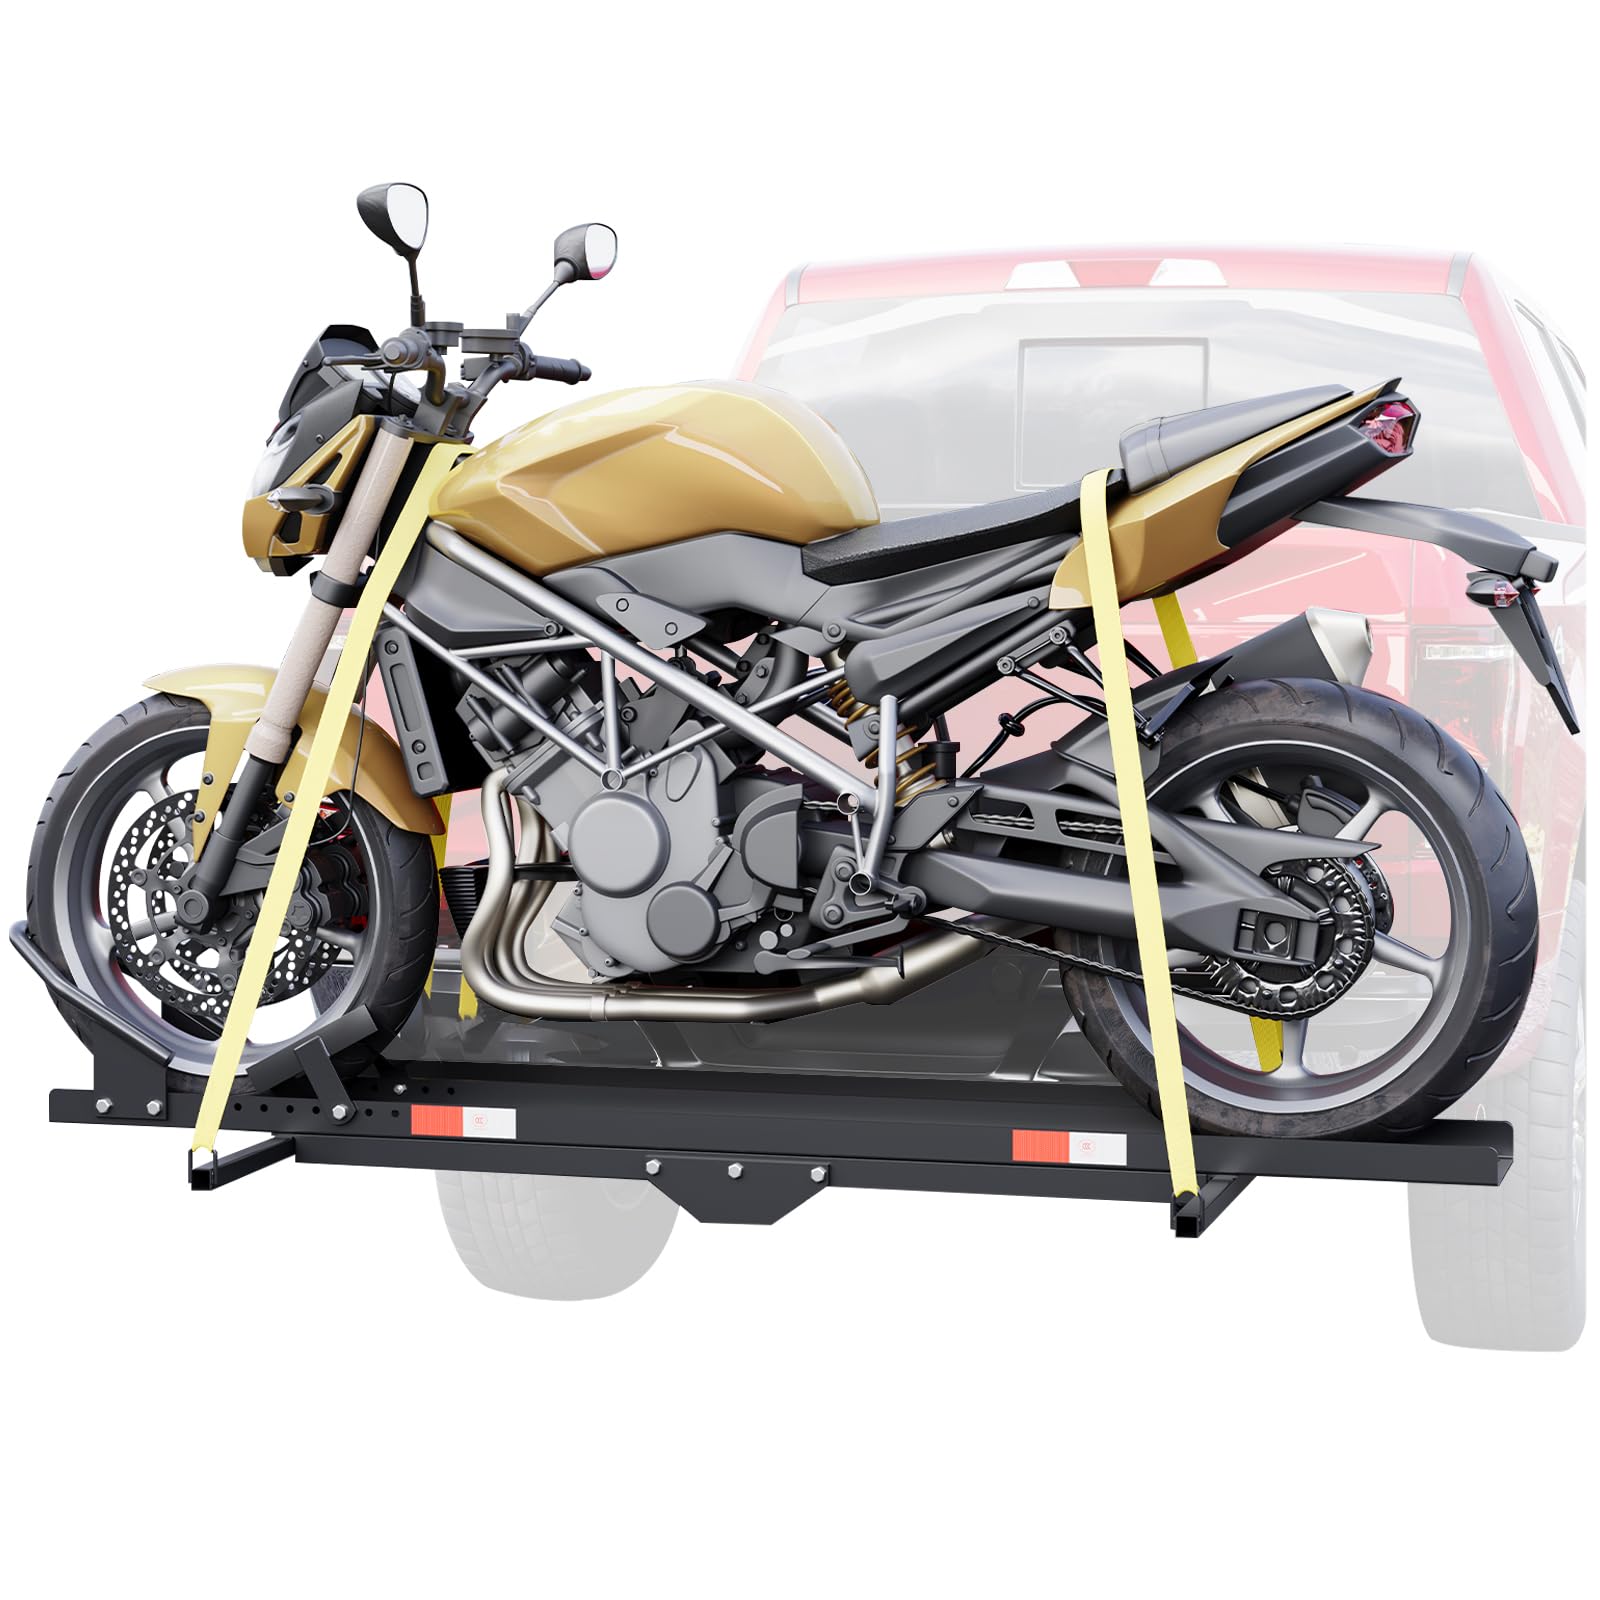
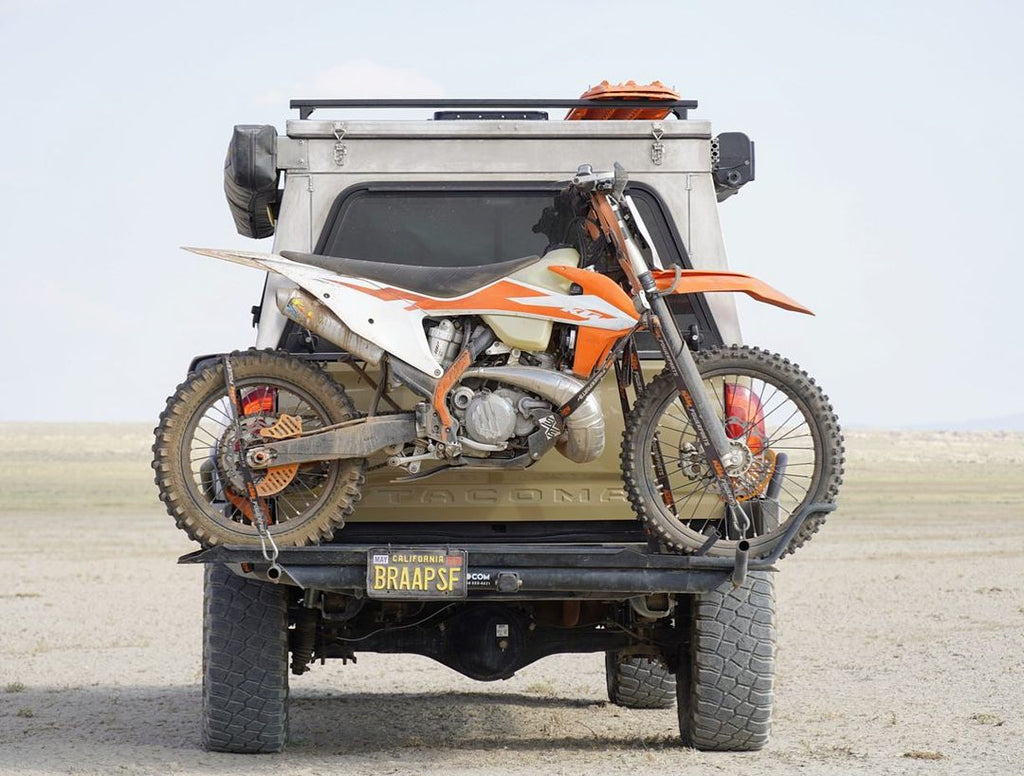
Okay, so I needed a way to carry more stuff on my bike. Going camping or even just grabbing groceries was getting tricky. The options online were either crazy expensive or just didn’t look like they’d fit my old motorcycle right. I figured, how hard can it be? I decided to just build one myself.
Getting Started – Figuring it Out
First thing, I spent some time just looking at the back end of my bike. Where could I actually attach something solid? I saw a couple of frame points near the seat and rear fender that looked promising. Didn’t want anything flimsy.
I grabbed some paper and sketched out a rough idea. Nothing fancy, just a basic flat platform shape with some legs that would reach those mounting points. I took some measurements with a tape measure – how wide it should be, how far the mounting points were apart, stuff like that. I decided to go with steel square tubing for the main frame and some flat steel bars for the platform surface and mounting tabs. Stuff I could get easily at the local metal supply place.
Gathering the Bits and Pieces
Went down to the metal shop and picked up a length of square steel tube, maybe 3/4 inch? And a long piece of flat steel bar. Also grabbed a handful of nuts, bolts, and washers – stainless steel, so they wouldn’t rust right away. Already had basic tools like a hacksaw, drill, files, and wrenches in my garage.
Putting It All Together
Alright, the actual work started. This took a weekend, maybe a bit more.
- Cutting: I measured the tubing and flat bars based on my rough sketch and cut them to size using the hacksaw. Took a bit of elbow grease, but got it done. Filed down the sharp edges afterwards. Safety first, kinda.
- Mock-up: I laid the pieces out on the garage floor to see how they fit together. Then, I held the main frame parts against the bike’s mounting points to check the fit and angles. Had to trim one of the legs a bit more to get it sitting right.
- Drilling Holes: This was tricky. I marked where the bolts needed to go – connecting the frame pieces together and also where the rack would bolt onto the bike itself. Drilled the holes carefully. Used some cutting oil to make it easier.
- Assembly: Started bolting the main frame of the rack together. Put the flat bars across the top to make the platform, leaving small gaps between them. Bolted those down too. Tightened everything up pretty good.
- Mounting Tabs: For attaching to the bike, I used short pieces of the flat bar. Drilled holes in them to match the bike’s frame points and holes in the rack legs. Bolted these tabs onto the rack legs.
Finishing and Testing
Once it was all bolted together, I gave it a good shake. Seemed solid. It wasn’t pretty, just bare metal and tool marks. So, I cleaned it up with a wire brush and gave it a couple of coats of black spray paint I had lying around. Mostly to stop it from rusting instantly.
After the paint dried, the real test: bolting it onto the motorcycle. It took a bit of fiddling to line up the holes, but eventually, I got the bolts in and tightened them down securely. I pushed on it, pulled on it – it felt really sturdy, didn’t wobble much.
The first ride! I strapped my backpack onto it with some bungee cords and went for a spin around the neighborhood, then took it on a longer ride. It worked! Held the weight fine, didn’t shift around. Felt pretty good to have built something useful myself.
It’s not the fanciest looking rack, for sure, but it does the job perfectly and cost me way less than buying one. Plus, I know exactly how it’s built and attached. Definitely a satisfying project.


