
Alright, let’s talk about repacking the exhaust on my bike. It started getting way too loud, kinda obnoxious really, and I figured the packing was shot. Done this a few times over the years, it’s just one of those maintenance things you gotta do.
Getting Started
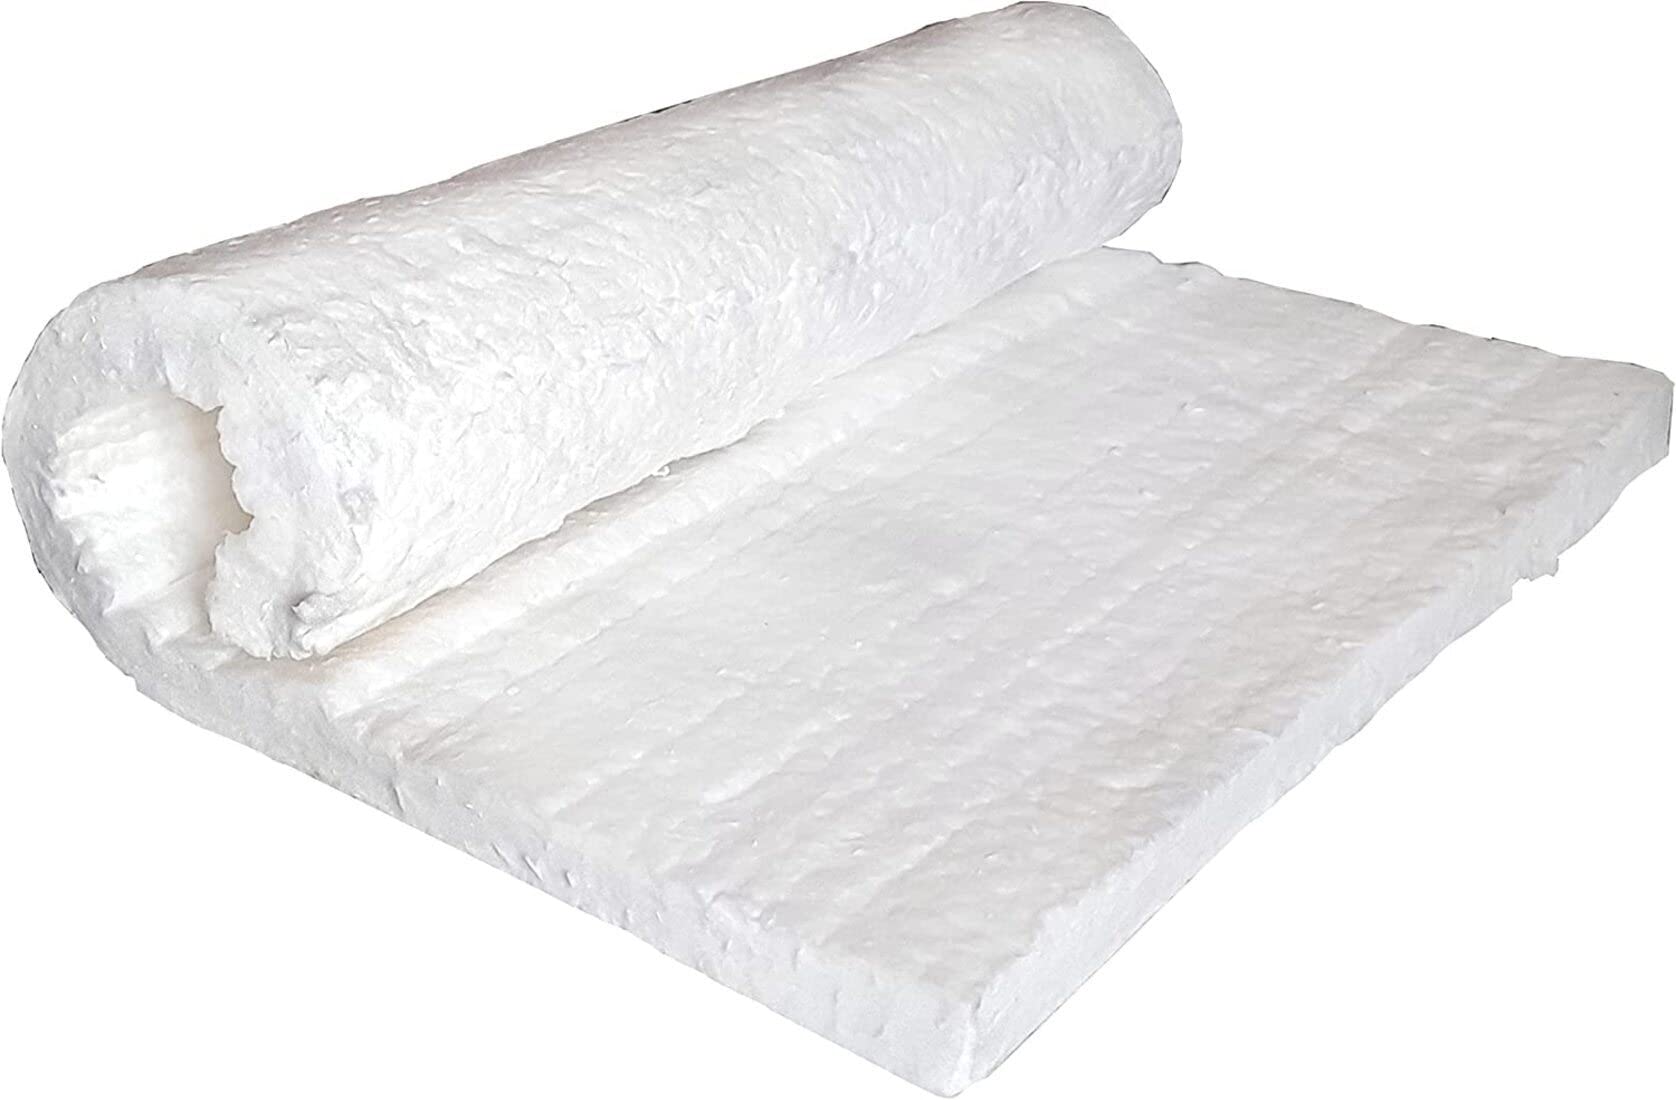
First up, I gathered my stuff. Needed the new packing material, of course. I just grabbed a standard fiberglass packing kit, nothing fancy. Then the tools:
- Drill and bits (for the rivets)
- Rivet gun and new rivets (usually stainless steel ones work best)
- Basic wrenches and sockets to get the muffler off the bike
- Pliers, maybe some wire cutters
- Safety glasses and gloves – that fiberglass gets itchy!
- Something to scrape with, like a putty knife
- Maybe some high-temp silicone sealant
Getting the muffler can off the bike was step one. Usually just a clamp around the pipe and a bolt or two holding it to the frame. Loosened those up, gave it a good wiggle and twist, and it slid right off. Set it aside on the workbench.
Taking it Apart
Now the messy part. Most aftermarket cans are held together with rivets on the end caps. Found the rivets on mine, grabbed the drill, and carefully drilled the heads off. You gotta be steady so you don’t mess up the holes in the canister body or the end cap. Once the rivets were out, I could pull the end cap off. Sometimes they stick, might need a little tap with a rubber mallet.
With the cap off, I could see the inner core – that perforated tube thing. Gently pulled that straight out. Wow, the old packing was nasty. Black, oily, brittle, and barely there in some spots. No wonder it was so loud. I pulled all that old junk out and tossed it.
Cleaning and Packing
Next, cleaning. The inside of the muffler canister was pretty dirty, lots of carbon buildup. Scraped out what I could. Cleaned up the perforated core too, making sure the holes weren’t clogged. Just used a wire brush for that.

Time for the new packing. I unrolled the new fiberglass sheet. Some guys wrap it really tight, some leave it a bit looser. I tend to wrap it snugly, but not so tight you can’t get it back in the can. Wrapped it evenly around the perforated core. Important: I used some masking tape or thin wire wrapped around the packing just to hold its shape while I slid the core back into the muffler body. Makes life way easier.
Putting it Back Together
Carefully slid the core with the new packing back into the canister. Made sure it seated correctly inside. Then I put the end cap back on. Lined up the rivet holes. Some people put a thin bead of high-temp silicone sealant around the cap before riveting for an extra seal, I sometimes do, sometimes don’t. This time I did, just a little bit.
Got the rivet gun and popped in the new rivets. Made sure they pulled tight and secured the end cap firmly. Gave the whole thing a wipe down.
Finishing Up
Slid the repacked muffler back onto the bike’s exhaust pipe. Tightened the clamp, bolted it back onto the frame mount. Double-checked everything was secure.
Then, the moment of truth. Fired up the bike. Ah, much better. The sound was deeper, quieter, much less harsh and tinny. Took it for a quick spin around the block, felt good. Job done. It’s not glamorous work, but definitely satisfying when you hear that nice, proper exhaust note again.


