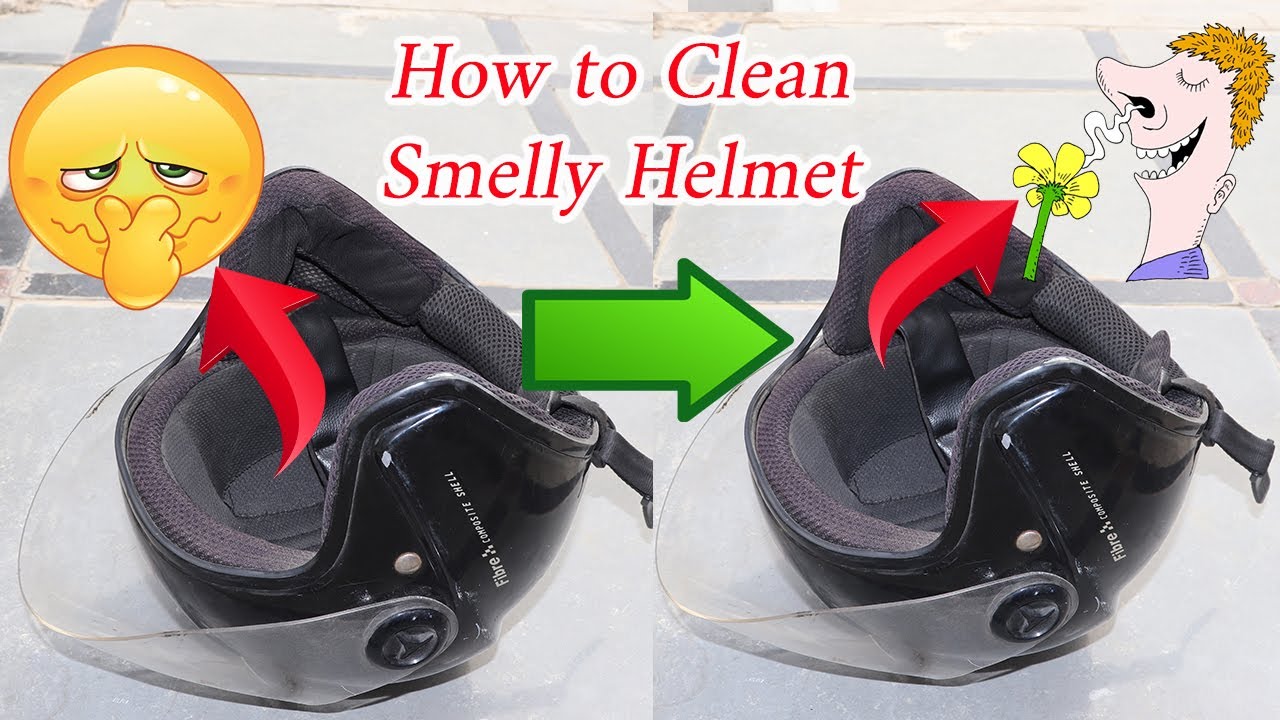
Okay, let’s talk about getting that helmet funk out. Mine was starting to smell a bit ripe after a few long rides, you know how it gets. So, I decided it was time for a good clean-up inside.
Getting Started – What I Grabbed
First thing, I took my helmet inside. Didn’t want to do this out in the dusty garage. I grabbed a couple of things: some mild soap (baby shampoo works great, honestly, anything gentle), a couple of towels, and access to my sink.
Taking the Insides Out
Alright, the slightly fiddly part. My helmet has removable liner and cheek pads, which makes life way easier. I carefully unclipped the cheek pads first. Usually, they just pop off with a little pull. Then, the main liner, same deal, looked for the snaps or tabs holding it in and gently worked it loose. Be careful not to yank too hard, don’t wanna rip anything. I laid the pieces out.
Washing the Guts
So, I filled the sink with lukewarm water. Not hot, just comfortably warm. Added a squirt of that baby shampoo, swished it around a bit to get some suds going. Then, I dropped the liner and cheek pads in. Didn’t just let them sit, though. I gently massaged them with my hands, squishing the soapy water through the foam. Like washing a delicate sponge, you know? Focused on the areas that get the most sweat, like the forehead part of the liner. Did this for a few minutes until the water started looking a bit murky – proof it was needed!
Rinsing Time
This part’s important. Got rid of the dirty, soapy water. Then I rinsed the pads and liner under cool running water. Kept squeezing them gently, rinsing, squeezing, until the water ran totally clear and there were absolutely no more soap bubbles coming out. You don’t want soap residue irritating your skin later.
Drying – Patience is Key
Okay, DO NOT throw these things in the dryer or blast them with a hairdryer. Bad idea. It can mess up the foam and fabric. What I did was gently squeeze out as much water as I could without twisting or wringing them hard. Then, I laid them flat on a clean, dry towel. I put another towel on top and pressed down to soak up more water. After that, I found a spot indoors, out of direct sunlight, with good air circulation, and just let them air dry completely. This usually takes a day, sometimes longer depending on humidity. You gotta be patient and make sure they are 100% dry before putting them back in.
Wiping Down the Shell
While the liner was drying, I took a damp cloth (just water, maybe a tiny bit of mild soap if needed, but mostly just water) and wiped down the inside of the helmet shell itself. Got rid of any dust or grime that might have been hiding under the liner. Then wiped it dry with another clean cloth.
Putting It All Back Together
Once everything was totally dry – seriously, check the foam deep inside – I started putting it back together. Usually, I put the main liner in first, snapping it back into place. Then the cheek pads, making sure they clicked in securely. Took a moment to make sure everything felt right and wasn’t bunched up anywhere.
And that’s pretty much it. Put the helmet on, took a whiff – smelled fresh and clean. Way better. I try to do this every few months, or more often if I’ve been sweating in it a lot. Makes riding much nicer when your helmet doesn’t smell like a gym bag.


